Latest Posts

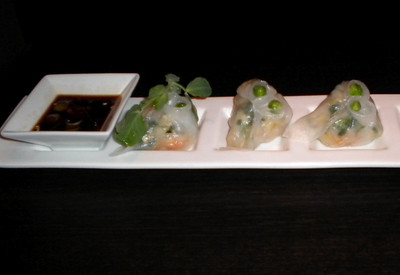
Wonders of Won Tons

I used to believe that some cuisines were best left to the professionals. Why spend hours scouring specialty markets for hard-to-find ingredients when I could just order take-out from the nearby Thai, Vietnamese, Chinese or Japanese restaurant? Then I spent a day in the kitchen with my husband’s step-father. A native of Vietnam, Luong is the guy to go to if you want to learn about, if not master, the fine art of Asian cooking.

On that transformative day we focused on won tons. A staple of Chinese cuisine, these dumplings required no lengthy shopping trips for rare ingredients. Likewise, they involved no special culinary skills. Just chop, stuff and boil. Who knew that cooking Asian food could be so easy? Not me!

With our ingredients spread out on the kitchen counter, Luong coached me on how to make the perfect, time-saving won tons. His trick? Store-bought, wheat flour dumpling wrappers. These can be found online as well as in specialty grocery stores and the Asian section of most supermarkets. Remember to moisten the wrappers with a damp towel and let them sit and soften for a few minutes before using.

Wrappers limber, we set out to stuff and seal our dumplings. Although usually loaded with ground pork as well as shrimp and minced onions, these won tons contained chicken. Perfect for pork-abstaining or shellfish-sensitive Asian food fans.

Once we had formed the dumplings, we reserved half for a bubbling pot of won ton soup. The others we boiled and paired with a dipping sauce of two parts soy sauce to one part honey and rice vinegar. In the end we had two fabulous Asian meals, neither of which depended upon calling for take-out.

CHICKEN WON TONS
Makes approximately 60 dumplings

1 lb. lean ground chicken
2 scallions, finely chopped
2 shallots, finely chopped
4 shitake mushrooms, roughly chopped
small piece of ginger, grated
12 water chestnuts, chopped
2 cloves of garlic, peeled and minced
8 – 10 shrimp, cut into pieces
6 tablespoons soy sauce
60 Shanghai-style won ton or dumpling wrappers
salt and pepper to taste
6 to 8 quarts salted water, for cooking
soy sauce, for garnish

Fill a medium-sized stockpot with lightly salted water and bring to a boil.

Wet a paper towel and place it over the dumpling/won ton wrappers to moisten them.

Place the shallots, scallions, mushrooms, garlic, water chestnuts, ground chicken, shrimp, ginger, salt and pepper in a large bowl and stir to combine. Add the soy sauce and stir again.

Bring the salted water to a boil.

Peel off a dumpling wrapper and place 1 tablespoon of filling in the middle of the wrapper. Moisten the edges of the wrapper and fold into a crescent. Press down on the edges with the tines of a fork. Place on plate.

Repeat this process with all the wrappers, making sure not to overlap the dumplings on the plate or they will stick together.

In batches place the dumplings in the boiling water and cook. When they float to the surface, they are finished. Remove won tons with wire skimmer or slotted spoon. Serve on plates with soy sauce or place in a broth and serve as a soup.

*Note: The same ingredients can be used for won ton soup. After filling the won ton wrappers, twist the edges up into a tepee. Place in won ton soup broth (1 chunk of whole ginger to be removed once soup is finished, 1 sliced shallot, 1 can of chicken broth) and cook.
Sardines, The Smart Choice

Over the weekend, while everyone else was off enjoying a few snow-free days, I sat in my office, struggling over an assignment on sardines. Whenever I became convinced that I had captured the delights of these small, iridescent fish, my husband would read a few lines and announce that I still hadn’t sold him, yet.

He isn’t alone in his status of sardine sourpuss. Many Americans write off this flavorful, little fellow as being too oily, boney, fishy or just too startling – with its head and tail intact – to use in a dish.


For me, though, sardines remain a tasty, smart, and economical alternative to ‘fast fish’ such as canned tuna and larger, carnivorous creatures such as salmon. With a flavor reminiscent of a heartier, earthier tuna sardines can jazz up a variety foods including sandwiches and subs, salads, pasta, pizza and dips.

Their rich, meaty flavor also allows them to stand on their own, grilled and served with a side of mixed greens or couscous. Their fatty flesh makes them perfect not only for grilling but also for broiling and frying.

Recoil at the thought of fattiness? Think again. Sardines are high in omega-3 fatty acids, which may reduce the risk of cardiovascular disease, cancer and arthritis. They likewise are a good source of protein.

The health benefits don’t end here. Thanks to their short life spans, primarily herbivore eating habits and wild-caught status, sardines are low in mercury and other toxins. Although abundant in supply, these guys have stringent catch quotas, further enhancing their low environmental impact.

If these wonderful aspects don’t sway naysayers, consider the price. A 3.75-ounce can of boneless, skinless sardines cost as little as $1. Talk about value on your plate.

Still feel that you’ll never try a sardine? Chances are that you already have. A generic term, “sardine” applies to a variety of tiny, soft-boned, saltwater fish. Anchovies, herring, pilchards and sprat all fall under this category. So, if you’ve ever nibbled on a Caesar salad, with its salty, anchovy-laced dressing, or chowed down on bread slathered in the warm Italian dip bagna cauda, then you’ve eaten sardines.

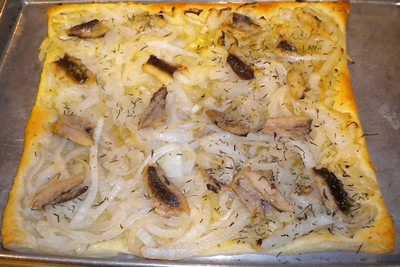
ONION-SARDINE PUFF
Serves 4 to 6

1 sheet of frozen puff pastry, thawed
3 tablespoons olive oil
1 ½ medium white onions, peeled and sliced into crescents
¾ teaspoon salt
1 (3.75-ounce) can of skinless, boneless sardines
1 teaspoon fresh rosemary, chopped
½ teaspoon dried thyme

Preheat the oven to 400 degrees Fahrenheit. Roll out the thawed puff pastry and place it on an ungreased baking sheet.

In a medium frying or sauté pan heat the oil on medium high. Add the onions and salt and sauté until softened, about 6 minutes. You should end up with about 1 1/2 cups cooked onion. Remove the onions from the pan and spread them evenly over the puff pastry.

Using your fingers, break the sardines into chunks and place them on top of the onions, spacing them evenly apart. Sprinkle the fresh rosemary and dried thyme over the onions and sardines and insert the puff into the oven.

Bake for 15 to 20 minutes, until the pastry has puffed up and the edges have browned slightly. Cut into squares and serve warm.

Go Bananas

When I’m hungry and in a rush, I reach for my curvy, tropical friend, the banana. This potassium- and Vitamin C-rich fruit has filled the bellies of the ravenous since ancient times. No wonder. Whether you pluck it off a tree or buy it from a fruit stand, grocery store or coffee shop, the ubiquitous banana persists in being easy to find, transport and eat. Just pop it into your bag or slip it into a “banana guard” and shove it into your jacket pocket and you’re set to snack healthfully any time, any place.

Because I enjoy the gentle sweetness and soft texture of bananas so much, I frequently incorporate them into my cooking. Banana bread, muffins and pancakes have all kicked off my days while banana cream pies, puddings, ice cream sandwiches and splits have brought luscious endings to my nights.

On those evenings when I crave a bit of a spectacle with dessert, I whisk together the flamboyant New Orleans classic Bananas Foster. In this dish bananas are sauteed in a mixture of brown sugar, cinnamon, unsalted butter and banana liqueur before being set aflame in dark rum. Once the fire dies out, the bananas and rich, amber sauce are spooned over ice cream. While vanilla ice cream has become the standard choice for Bananas Foster, alternate flavors such as chocolate, toffee, caramel or hazelnut can add an extra dash of excitement to this sweet.

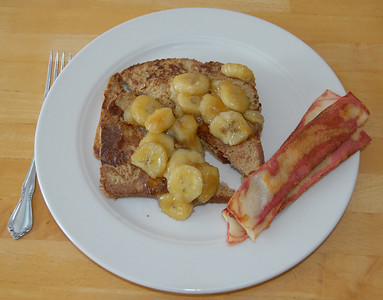
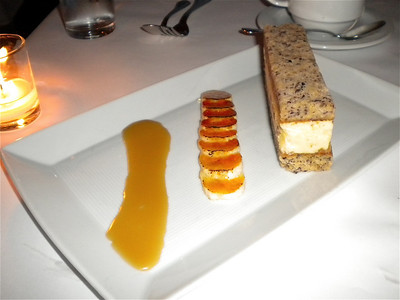
When I don’t feel up to fiddling around with more than a few ingredients, I pull out some brown sugar and unsalted butter and make caramelized bananas. This simple treat can top French toast and pancakes, fill crepes, or be layered between scoops of ice cream or yogurt. Caramelized bananas can also stand on their own, served in small bowls with whipped cream or crisp sugar cookies.

So many cooking options. Such delicious food. It’s no surprise that bananas have become North America’s – and my – favorite fruit.

CARAMELIZED BANANAS
Serves 2 to 4

2 tablespoons unsalted butter
2 tablespoons light brown sugar
1 tablespoon granulated sugar
2 large, ripe bananas, peeled and sliced into coins

Melt the butter and sugar together in a medium frying or saute pan. Stir frequently so that the ingredients are well-combined. Lay the bananas on top of the sauce and cook for approximately 45 seconds. Flip over the banana coins and cook on the other side for roughly the same time. The bananas should be soft but not mushy. Spoon the caramelized bananas over French toast, pancakes, crepes, plain Greek yogurt or ice cream and serve immediately.

Stir the Pot

“Stir constantly with a wooden spoon until the cornmeal thickens, about 30 to 45 minutes.” Those instructions have daunted countless would-be polenta makers, including me. Who wants to stand over a steaming pot for 45 minutes, stirring cornmeal non-stop? No doubt anyone who has discovered the tastiness and versatility of this savory comfort food would, that’s who.

A staple of Northern Italian cuisine, modern polenta dates back to the mid 17th century. It was during this time that the Venetians introduced American corn to the region. Prior to the 1600s a variation of polenta was reputedly made using chestnut flour while another version may have existed that employed barley.

Cooked in an unlined copper kettle, the combination of yellow cornmeal, or ground corn, and water was ceaselessly stirred until a thick mush formed. To test for doneness, the cook would insert her wooden spoon in the center of the mixture. If the spoon stood up on its own, without falling over or shifting its position, the polenta was done.

Once finished, the polenta was either served immediately in its porridge-like state or spooned out of the pot, spread out on a flat surface to cool and solidify and then cut into squares. The pieces would then be grilled or fried and paired up with seafood, vegetables or a sauce. An extremely adaptable food, it was offered as a first course, side and even an entrée. When teamed with spicy sausages or sweet syrup or preserves, it became a hearty breakfast.

Although polenta can be delicious on its own, it also compliments a variety of foods. Stewed, braised or roasted meats, grilled fish and shellfish and roasted fowl all couple well with it. When working with meats and fish, be sure to reserve some of their cooking juices so that the liquid can be used as a light sauce for the polenta.

Likewise, polenta can serve as a stand-in for such basic ingredients as the potatoes in mashed potatoes or pasta in lasagna. Just spread out, cool and cut the cooked polenta into strips. Place the strips in a baking dish and cover with cheese, meat or vegetables and tomato sauce and bake. Outstanding!

MEDITERRANEAN POLENTA TRIANGLES
Serves 4 to 6

For the polenta:
3 ¾ cups water
1 tablespoon salt
1 tablespoon olive oil, plus 2 to 3 tablespoons for frying
1 cup instant polenta

For the topping:
1 (14 ½) ounce can of diced tomatoes, drained and with juice reserved in separate bowl
2 cloves garlic, minced
1 tablespoon extra virgin olive oil
2 tablespoons lemon juice
¾ teaspoon dried oregano
¾ teaspoon dried thyme
1 ½ teaspoons fresh, chopped parsley or ¾ teaspoon dried parsley
½ teaspoon ground black pepper

In a large saucepan bring the water to a boil. Add the salt and 1 tablespoon of olive oil. Slowly pour in the cornmeal, stirring with a wooden spoon as you add it. Reduce the heat to medium and continue to cook, stirring constantly, until the mixture thickens, about 5 minutes. Remove from the heat and spoon the polenta into a rectangular, lightly oiled, 2-quart baking dish. Allow the polenta to cool and solidify.

Meanwhile, in a medium bowl mix together the tomatoes, garlic, oil, lemon juice, oregano, thyme, parsley and pepper. Depending on how thick you want the topping to be, add 2 to 4 tablespoons of the reserved tomato juice to the mixture and stir together.

Once the polenta is firm, cut it into triangles about 2 inches in diameter at the base. (You can do this by first cutting the polenta into a rectangle and then slicing it diagonally to make 2 triangles.)

In a non-stick frying pan heat the remaining 2 tablespoons of olive oil. Place several polenta triangles in the pan and fry on both sides until golden brown. Remove and arrange the cooked polenta on a large plate or platter. Repeat these steps with the remaining triangles.

Spoon the topping over the fried polenta and serve immediately.

Simple Ways to Start the Day

This past fall a series of house guests prompted me to re-think what I consume at the start of each and every day. While I may love to greet the morn with a slice of double fiber wheat toast with organic peanut butter and Le Pain Quotidien four-berry preserves slathered over top, I suspected that my friends would expect a little more than a hunk of toast dressed up with PB and J. No doubt about it, I’d have to come up with something more interesting and filling to offer my traveling guests.

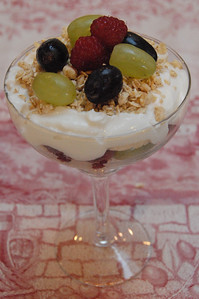
One of the fastest yet prettiest ways to kick off the day was with a yogurt-fruit-granola parfait. For this I just dug out some margarita glasses and filled the bottoms with homemade granola. I then covered the granola with a few spoonfuls of organic, Greek yogurt followed by fresh berries and more granola. I topped the parfait off with a handful of berries and then — Voila! — breakfast was ready.

When pressed for time, I spread delicate, coral slices of smoked salmon on a white platter, sprinkled feathery, fresh dill and piquant capers around the edges and presented the dish alongside a slab of cream cheese and wedges of savory pumpernickel bread. The entree looked elegant and tasted delicious. Yet, it took only a few minutes to prepare.


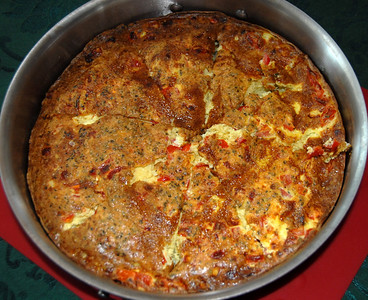
On mornings when I had time to spare, I whipped up a Mediterranean frittata. An Italian version of an omelet, the frittata has its extra ingredients – cheese, tomatoes, etc. – mixed and cooked with the eggs rather than folded inside them as its French cousin does. Finished under a broiler, the frittata, unlike an omelet, keeps its round shape.

Although whisking together eggs, herbs, and cheese at the crack of dawn might seem too onerous to bear, the frittata proved to be yet another easy offering. Since I didn’t have to fiddle with a crust, as I would with a quiche, I could pour the egg mixture into a heated pan and let the stovetop do its work. Likewise, I didn’t have to worry about hovering over the stove, evenly folding over eggs or contending with too much filling slopping out over the sides. This self-contained dish cooked away while I devoted my attention to brewing a much-needed pot of coffee.

While frittatas, smoked salmon platters and yogurt-granola parfaits all had their charms, some mornings the best and simplest way to ease into the day was with breakfast at a local diner. All the comforts of home cooking but without any of the dishes to clean at the end of the meal. And this, ultimately, was my visiting friends’ favorite way to begin their stays.

MEDITERRANEAN FRITTATA
Serves 4

1 to 2 tablespoons olive oil
3 eggs
5 egg beaters
1/3 cup tomatoes, seeded and chopped
1/4 cup feta cheese, crumbled
1/4 teaspoon dried basil flakes
dash of freshly ground black pepper

Place the oil in an oven-proof, 3-quart saute or other smallish pan and heat it on medium-high. Turn the oven broiler on medium.

As the oil and broiler are heating, whisk together the eggs, egg beaters, tomatoes, cheese, basil flakes and ground pepper. Pour the mixture into the heated pan, reduce the stovetop’s heat to medium and allow the frittata to cook until the bottom is golden and the top begins to firm up.

Remove the frittata from the stovetop and place it beneath the preheated broiler. Watching it closely, allow the frittata to finish cooking and turn a golden brown on top. Depending on the size of your pan and how long it cooked on the stovetop, this will take anywhere from 1 to 4 minutes. Cut the frittata into 4 wedges and serve immediately with a side of fresh fruit or mixed greens salad.

Ultimate Comfort and Cold Weather Food

When life gets tough and leaves me longing for a sense of security, I escape to my kitchen and cook one of my favorite comfort foods: creamy macaroni and cheese.

Long considered a Depression era food, macaroni and cheese actually dates back to the late 18th century. Our third president, Thomas Jefferson, is credited with introducing the dish to America. The story goes that Jefferson returned from a trip to Italy with a pasta maker and recipe for macaroni coated with cheese. Originally made with equal amounts of grated Parmesan and butter, it would later feature the standard cheddar and bechamel sauce. Reputedly Jefferson’s favorite meal, this casserole was served at Monticello, his Virginia home, and also at parties in Washington.

Although considered a luxury item reserved for the rich, macaroni and cheese did appear in Mary Randolph’s The Virginia Housewife in 1824. Her housekeeping and cookery book instructed readers to ‘boil the macaroni with milk and water.’ After cooking and draining the macaroni, they should then place it in a bowl and cover the top with cheese and butter. By 1851, the recipe had evolved into a richer, cheesier dish featuring alternating layers of Parmesan, butter and macaroni. According to Jean Anderson in The American Century Cookbook (Clarkson, 1991), the first saucy macaroni and cheese appeared in 1915 in the Larkin Housewives’ Cook Book. Many cookbooks, though, continued with the drier, layered dish through the 1950s.

Despite its long history on these shores, macaroni and cheese didn’t become a nationwide sensation until the Depression. By that time, pasta was being manufactured on a large scale, making macaroni cheap and widely available. Adding a little cheese, butter and breadcrumbs to a pot of elbow macaroni provided unemployed, cash-strapped families with a simple, inexpensive and filling dinner.

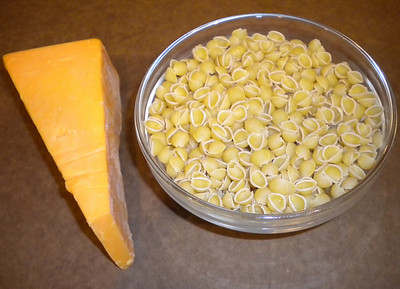
Making mac ‘n’ cheese from scratch couldn’t be easier. While the elbows (or other short, tubular pasta) cook, I stir together equal parts flour and butter in a medium sized pan over medium-low heat. In other words, I make a roux. To this I slowly add milk, which transforms my roux into a bechamel sauce. While the sauce simmers, I sprinkle in my grated cheese of choice and a dash of ground white pepper and allow the ingredients to bubble away for a minute. By this point my macaroni should have reached al dente, a firm but not hard consistency and the ideal level of doneness for this dish. After draining the pasta, I tumble it into the sauce and stir the two together. At this stage I could cook the macaroni and cheese for another minute and then serve it. I could also spoon it into a buttered baking pan, dot the top with bread crumbs, and bake for 30 minutes.

Cook on the stove or bake in the oven? The decision is a matter of time and taste.

Likewise, personal taste plays a role in what cheese stars in my entree. Often I choose a high quality, aged, sharp cheddar and mix it with a little Parmesan. For more intense flavor I select a mixture of cheddar and Gruyere. No matter what cheese I choose, I know that in the end I’ll dig into a big bowl of delicious comfort food. Mac ‘n’ cheese — it’s the meal of contentment for me.

STOVETOP MACARONI AND A CHEESE QUARTET
Serves 4 to 6

2 cups elbow macaroni
2 tablespoons unsalted butter
2 tablespoons all-purpose flour
2 cups milk
1 cup cheddar cheese, grated
1 cup Monterey Jack cheese, grated
1/2 cup Parmesan cheese, grated
1/4 cup Romano cheese, grated
Dash of ground white pepper
Curry powder, optional garnish
Hot paprika, optional garnish

Following the directions on the package, cook the macaroni until al dente.

Meanwhile, in a medium-sized saucepan melt 2 tablespoons of butter then add the flour, whisking until well combined. Cook the roux for 5 minutes, stirring frequently.

Over medium heat slowly add the milk to the roux, stirring to incorporate. Cook together until slightly thickened. Add the cheeses and pepper to the liquid. Stir periodically until well combined and then remove from the heat.

Drain the macaroni. Tumble it into the pan with the cheese sauce, stir them together and allow the mixture to cook for 1 minute over medium heat, until the sauce has thickened. Spoon into bowls and serve immediately with an optional sprinkling of curry powder or hot paprika on top.

Mmmm… Meringue

After a long season of munching on buttery cakes, iced cookies, and gooey candy the last thing that I want to bake, or eat, is dessert. I do, however, make an exception for meringues. Take one bite of an ethereally light meringue and you’ll understand why this confection was originally dubbed “sugar puff.” Crafted from egg whites and granulated sugar, this is one of the daintiest and simplest sweets that you’ll ever taste.

As a child, I associated meringue with the browned peaks capping off my mom’s coconut cream and lemon meringue pies. Yet, as I later learned, it is so much more than a topping for creamy treats. Where would ile flottante be without its white, fluffy islands or baked Alaska without its elegant, insulating alps? Minus meringue both become pools of cream sloshing about on our plates. Without question meringue remains the backbone of these and many other desserts.

Debate over the origins of this airy treat has raged on for decades. Some culinary historians credit the Swiss pastry chef Galasparini in the German town of Meiringen with meringues. Yet others point to a cook in the 18th century Duke of Lorraine’s kitchen as the creator of the first egg white delight.

Whoever did whisk together the first meringue unwittingly invented a longstanding, global hit. Eighteenth century French Queen Marie Antoinette reputedly loved meringues so much that she whipped up her own in the palace kitchen. Two centuries later Australian fans awarded the meringue-based pavlova the title of Australia’s national dessert.

Created in honor of the Russian ballerina Anna Pavlova, the pavlova consists of a meringue shaped in the form of a round basket or cake. Covered with whipped cream and then layered with strawberries, kiwi, bananas, peaches, raspberries or a combination thereof, the “pav” wows with its beautiful presentation and ease of preparation.

To make a meringue, I use an electric mixer to whip egg whites into a foam. Foam formed, I slowly add a little granulated sugar and continue beating. After the egg whites have doubled in size and soft peaks appear, I gradually pour in the rest of the sugar and continue to beat the mixture. When glossy, stiff peaks pop up, I am ready to slather the meringue over a pie or pipe it through a pastry bag or spoon it onto parchment paper and bake it.

If I am baking the meringue sans pie, I slip the parchment paper into an oven preheated to 275 degrees. After an hour has passed, I turn off the oven and allow the meringue to cook inside for another 3 hours or so. Due to the lengthy baking time I often start my meringue before going to bed and allow it to bake overnight.

When craving a crisp exterior but chewy interior — the consistency of pavlovas — I include either cornstarch or a tablespoon of vinegar in my ingredients list. After I have beaten my egg whites and sugar into stiff peaks, I fold the cornstarch or vinegar into the meringue. If I want to flavor my meringue with chocolate or ground nuts, I also add these at this time.

Easy to make. Light and delicious to eat. It’s no wonder that meringues remain my favorite “I’m-so-tired-of-sweets” sweet.

CHOCOLATE RASPBERRY PAVLOVA
Adapted from Nigella Lawson’s “Forever Summer” (Hyperion, 2003)
Serves 8 to 10

6 egg whites
1 cup granulated sugar
3 tablespoons unsweetened cocoa powder, sifted
1 teaspoon balsamic vinegar
2 ounces bittersweet chocolate, finely chopped
container of store-bought whipped cream
1 pint raspberries, washed and dried
2-3 tablespoons grated semi-sweet chocolate

Preheat the oven to 350 degrees Fahrenheit. Line a baking sheet with parchment paper.

Beat the egg whites until satiny peaks form and then beat in the sugar a spoonful at a time until the meringue is stiff and shiny.
Sprinkle in the cocoa, vinegar and chopped chocolate then gently fold until everything is mixed. Mound the meringue onto a baking sheet in a fat circle roughly 9 inches in diameter.

Place the baking sheet in the oven then immediately turn the temperature down to 300 degrees Fahrenheit. Cook for 1 to 1¼ hours until its crisp around the edges and sides and dry on top. There should still be some give to the center of the meringue. Turn off the oven and, leaving the meringue inside, allow it to cool completely.

When ready to serve, cover the top with whipped cream, followed by the berries and shavings of chocolate.

LIZ THEISEN’S STRAWBERRIES ROMANOFF IN MERINGUES
Makes 10 to 12

2 quarts ripe strawberries, washed
1 (6-ounce) can frozen orange juice concentrate, defrosted
1 cup port wine
Sugar
3 tablespoons Mandarine liqueur
2 cups heavy whipping cream
Forgotten Meringues (recipe follows)
Flowers or flower petals or shelled pistachios

Hull strawberries and place in a large bowl. Add orange juice concentrate and port and season to taste with a little sugar, if desired. Gently stir and allow berries to mellow in this mixture for 2 hours. Add Mandarine liqueur, taste and add more sugar, if desired. Whip cream with or without sugar to taste. Fill meringue shells with berries, garnish with flowers or pistachios and serve with whipped cream on the side.

Forgotten Meringues:
6 egg whites
1-1/2 teaspoons lemon juice or 1/2 teaspoon cream of tartar
2 cups sugar

Beat egg whites with lemon juice or cream of tartar until frothy. Gradually add sugar and beat until stiff and glossy. Pipe into 12 nest shapes or drop by small spoonfuls in circles on brown paper on a baking sheet. Place tray in preheated 400-degree oven, close door and turn off the heat. (Don’t peak!) Let stand overnight in the oven. Meringues will be baked by morning.

dried apricots, mascarpone, almonds, honey

Easy Holiday Eats – Apricot Medallions

Holiday snacks table

As soon as Thanksgiving breezes by, I start obsessing over Christmas and all the celebrations — and preparations — that the holiday season brings. Each year I vow to make my life easier by hosting smaller parties and concocting simpler menus. Yet, each year I invariably end up sweating over a steaming stockpot of coq au vin for 16 or frantically whisking together 30 individual mocha pot de cremes on Christmas Eve. So much for easy.

In 2009 I swear to halve my stress level by following four basic rules: Keep the appetizers easy. Offer only one entree. Don’t turn down offers from guests of appetizers or side dishes. Lastly and perhaps most importantly, don’t go wild with new, complicated dishes.

dried apricots, mascarpone, almonds, honey

Platter of Apricot Medallions

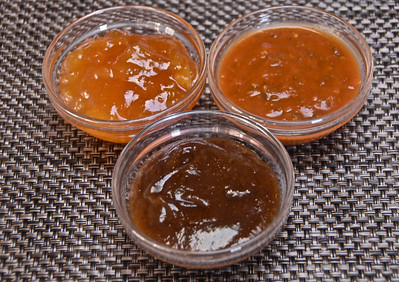
Gone are the days of hot-out-of-the-oven mini red pepper quiches and two dozen other homemade hors d’ouevres. This year friends and family will nosh on quick, uncomplicated appetizers such as apricot medallions, smoked trout paté and spiced nuts. And, if time slips away from me, I will have no qualms about plunking wedges of cheese onto a wooden cutting board, spooning store-bought chutneys into small bowls and serving both alongside slices of apple and baguette. If anyone grumbles, I’ll claim that we’re celebrating Christmas the Spanish way with tapas.

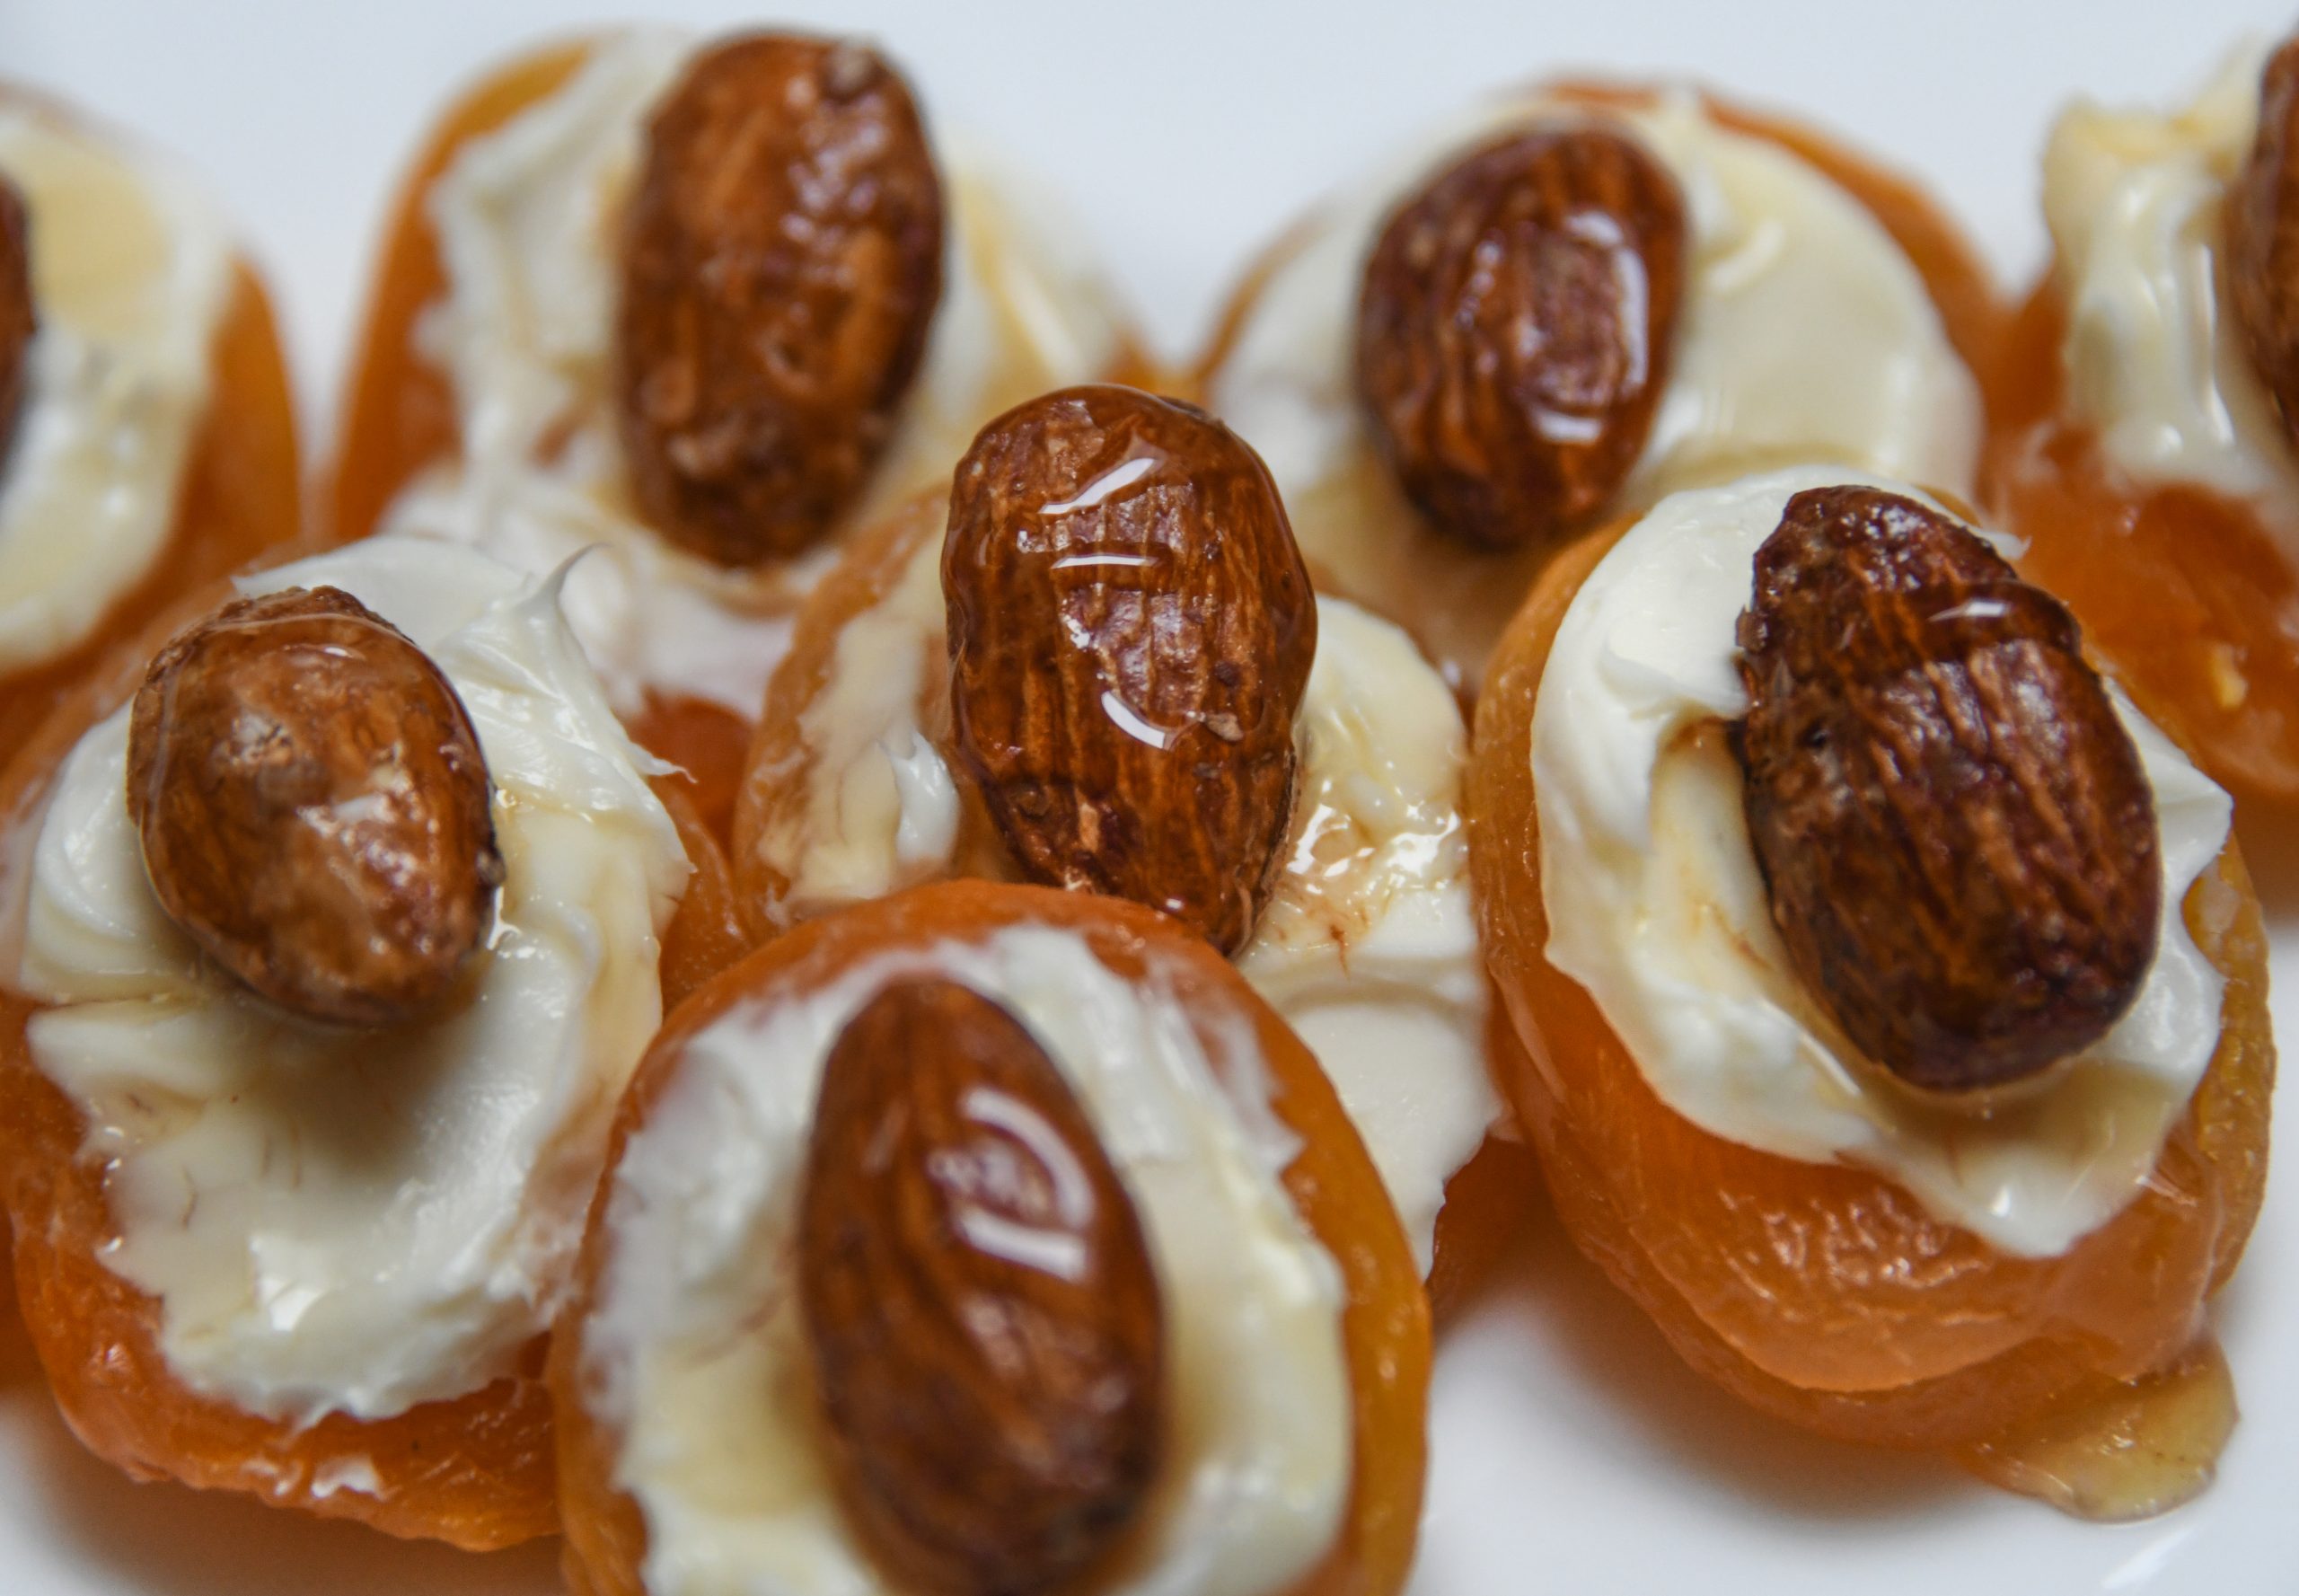
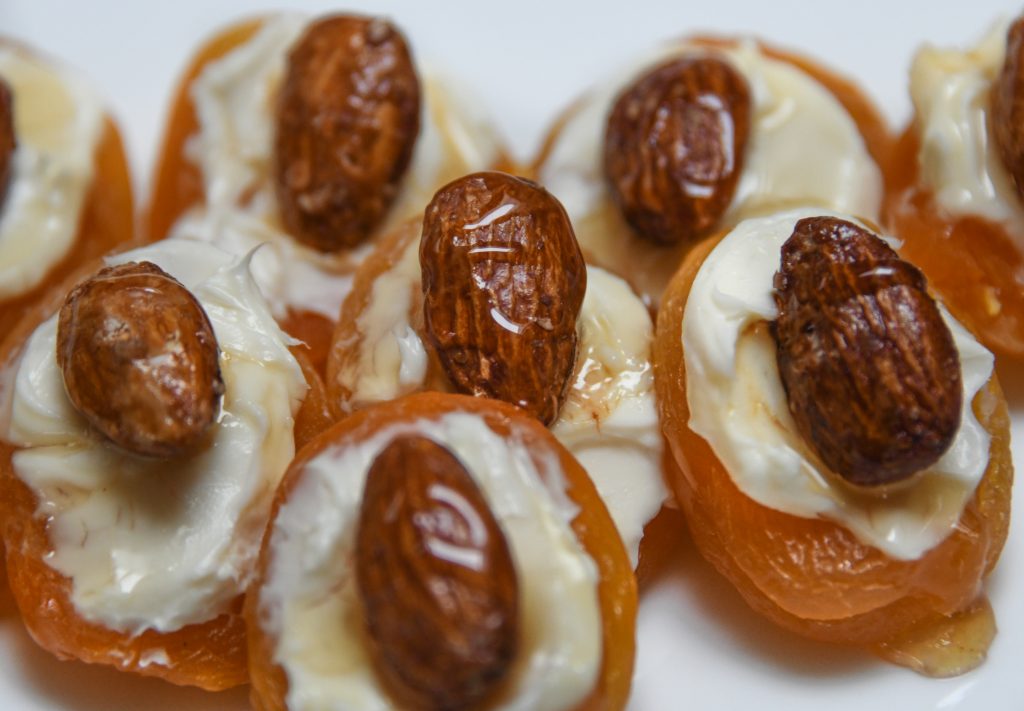
That brings me to a beloved tapas-like appetizer, Apricot Medallions. Featuring dried apricots, mascarpone cheese, honey roasted nuts and honey, they’re a snap to make and a delight to eat. You can either roast your own almonds, walnuts or pecans or use store-bought. I would avoid topping your medallions with honey roasted peanuts, though. Peanuts and apricots do not go particularly well together. 

APRICOT MEDALLIONS

Apricot Medallions taste delicious any time of year but are especially nice during a season of rich, fatty and less than healthful snacks. If you observe any New Year’s traditions of eating something round and/or shiny to ensure prosperity in the coming months, Apricot Medallions are the appetizer for you.

Makes 35 medallions

4 ounces mascarpone cheese

1 tablespoon lemon juice

1 tablespoon honey, plus more for drizzling

35 large, dried Turkish apricots

35 honey roasted almonds, pecans or walnuts

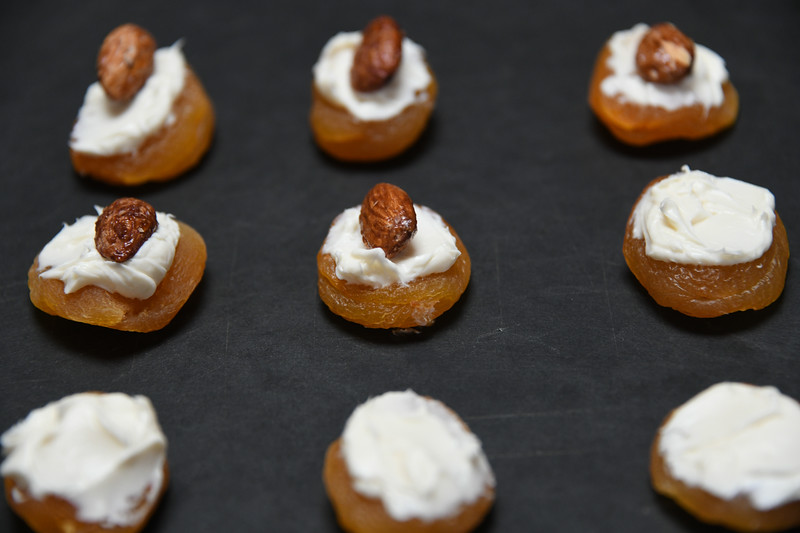
In a medium bowl mix the cheese, lemon juice and honey until smooth and spreadable. Using a knife, spread equal amounts of cheese on top of each apricot slice.

putting cheese and nuts on top of the apricots

Top each apricot with a honeyed nut and place on the platter or plate. Drizzle honey over each and serve.

Make a Change with Chutney

Whether sweet, sour, spicy or a tad salty, condiments have added flavor and flare to food for countless centuries. While the most familiar – ketchup, mustard and mayonnaise – still bring pleasure to the palate, something more unusual, such as chutney, can add much needed excitement to your dinner plate.

From the East Indian word “chatni” comes chutney, a tangy condiment featuring minced herbs, fruits, vegetables and spices. Freshly prepared for each meal, chutney appears alongside curries, as a spread for bread, as a topping for cheese and as a flavor enhancer for milder dishes such as rice and dals.

The ingredients in this sauce vary according to region and personal taste. In Southern India creamy coconut is all the rage while in Western India spicy herb reigns supreme. Whether from ripe or green tomatoes, tomato chutney is a hit across the country as is the silky, piquant tamarind chutney.

Of the myriad of chutneys produced and consumed, only one has become an international sensation – the sweetly tart and chunky mango chutney. Made from green mangoes, ginger, raisins, vinegar and an assortment of spices, this condiment was initially served fresh in India. However, once British colonists became smitten with it, Indian cooks began to preserve, can, and ship this ambrosial, jam-like relish to Great Britain.

The mango craze spread throughout the United Kingdom and then infiltrated farther shores. Walk down the ethnic food aisle of any grocery store and you’re bound to see at least three different brands of mango chutney. It’s delectable and everywhere.

FRESH GREEN MANGO CHUTNEY
Makes 2 cups
As this fruit chutney is uncooked, it should be consumed within a day or two.

1 pound green, unripe mangoes, peeled and diced
1 tablespoon fresh ginger, minced
¼ cup golden raisins
2 tablespoons fresh mint, chopped
¼ teaspoon ground cayenne pepper
1/8 teaspoon ground cloves
3 tablespoons lime juice
2 tablespoons brown sugar

Combine all the ingredients in a medium-sized bowl, cover and refrigerate for 30 minutes to allow the flavors to meld. Serve as a topping for grilled fish or chicken, with cheese or as a spread for sandwiches.

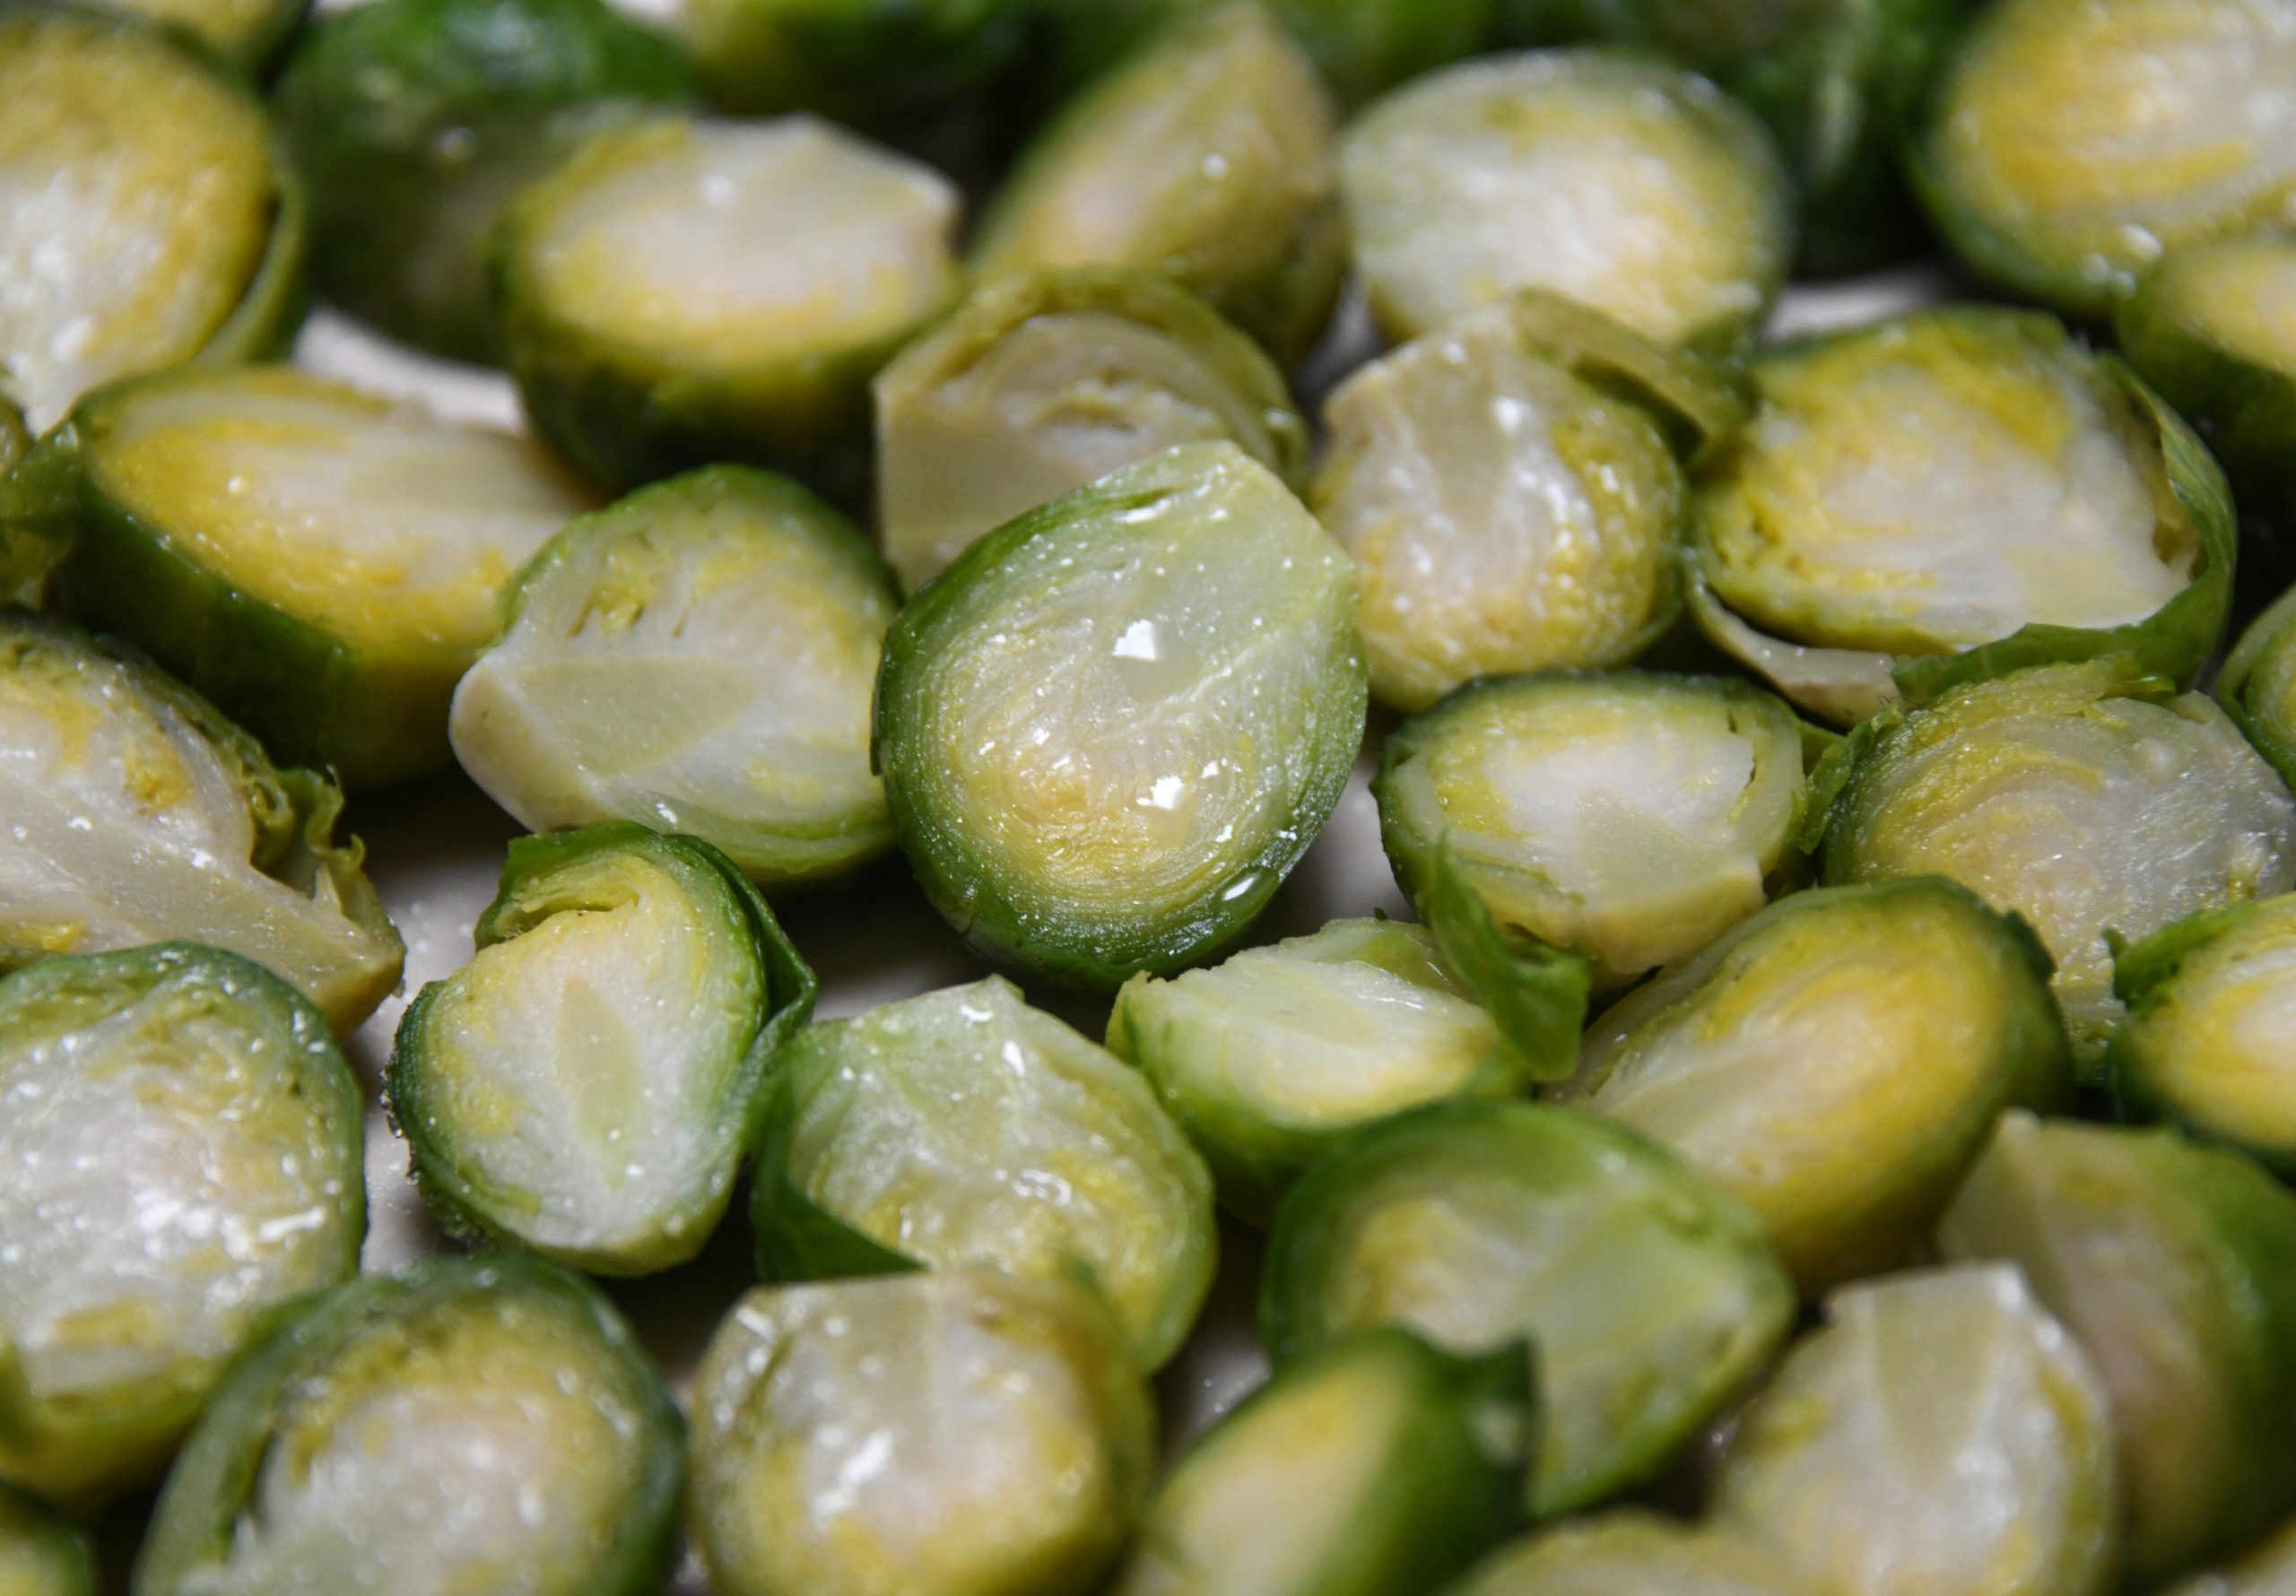
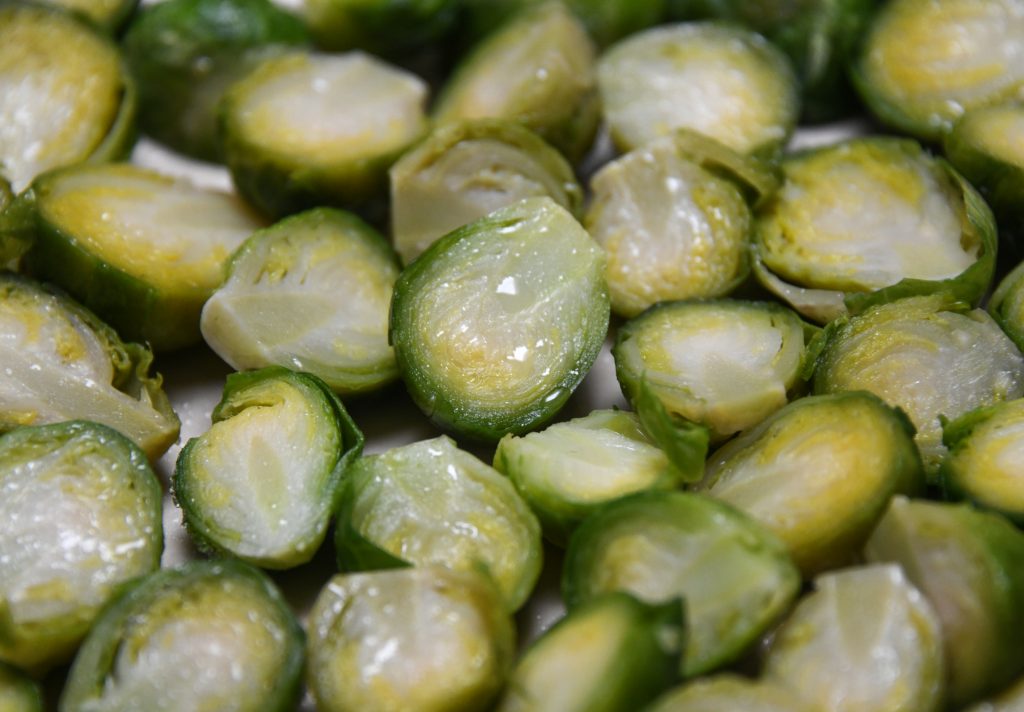
Brussels sprouts halves

For the Love of Sprouts

Brussels sprouts halves

As a child, I could think of no words more terrifying at dinnertime than “Brussels sprouts.”  Invariably overcooked and, as a result, smelling of rotten eggs, these nutritious, cruciferous vegetables became the bane of family meals.

As my dread grew so did my deceptive eating habits.  When my parents’ gazes were averted, I slipped individual sprouts beneath the table to a dog that would, and did, eat anything.  When the dog had reached her limit, I tucked the offending vegetables into my napkin or hid them beneath an untouched slice of buttered bread.  Whatever I could I did to avoid eating that night’s veg.

Twenty years later I am pleased to report that my fear of Brussels sprouts has come to a happy end.  I owe this breakthrough to learning how to select, store, and prepare these vitamin C-rich plants.

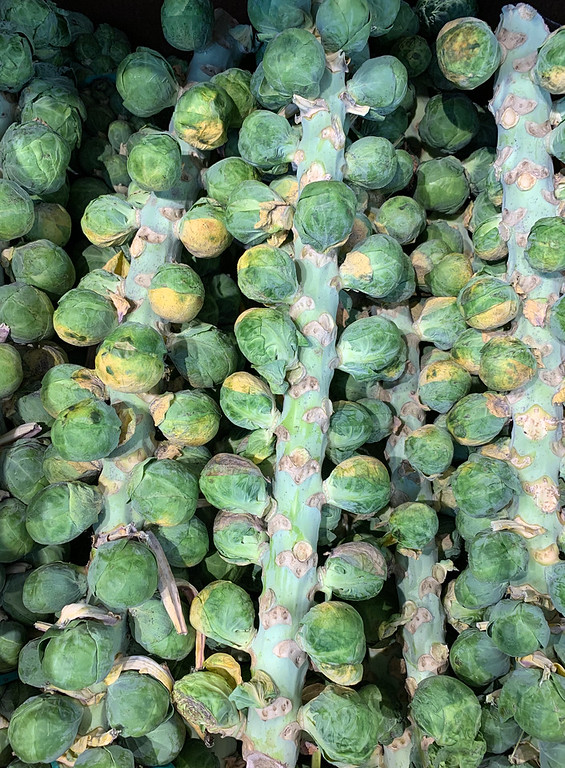
Fresh sprouts on their stalks

In Belgium Brussels sprouts dominate the produce stands.  Resembling tiny, green cabbages clinging to tall, thick stalks, they are uniquely Belgian.  Although scholars debate the date of their emergence, placing this anywhere from the 12th to the 18th century, their name points to the place of cultivation – the capital of Belgium, Brussels.

Prized for their sweet nuttiness and petite form, Brussels sprouts are tenderest and most flavorful when 1 to 1 ½ inches in diameter.  Similar to cabbage, they prosper in cold weather and develop their delicate taste after the first frost.

When shopping for Brussels sprouts, I look for small, firm, bright green heads and compact leaves.  I avoid large, soft, or yellow ones as they tend to be old and bitter.  If I happen upon sprouts still attached to their stalk, I opt for the smallest stalk.  It will contain the youngest and best tasting sprouts.

Unwashed, individual sprouts will keep in a plastic bag in the refrigerator crisper for up to three days.  Those on the stalk can be plucked off and stored the same way.

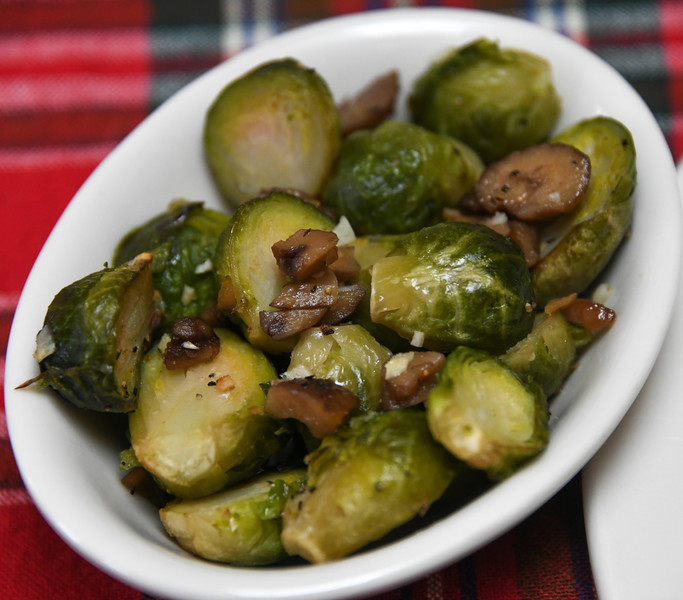
Roasted garlic, chestnuts and Brussels sprouts

ROASTED GARLIC, CHESTNUTS AND BRUSSELS SPROUTS
Serves 8

2 pounds fresh or frozen Brussels sprouts, halved from top to bottom
2 cloves garlic, minced
1/2 cup roasted chestnuts, roughly chopped
2 tablespoons olive oil
1/2 teaspoon salt
1/4 teaspoon freshly ground black pepper

Pre-heat the oven to 425 degrees F.

Place the Brussels sprouts, garlic, olive oil, chestnuts, salt and pepper in a large baking dish. Toss the ingredients together, spread them in a single layer and bake until tender, about 25 minutes. Serve immediately.