Latest Posts

Pity the Pumpkin

Growing up, I had little respect for the pumpkin. Blame it on lack of exposure. It showed up once a year in my mother’s Thanksgiving pie and then quickly disappeared from our menus and my mind. If I did see it more than once, it was usually at Halloween. At that time it was carved up, stuffed with a candle and dumped unceremoniously on our doorstep only to be forsaken after the holiday. It’s no wonder I now feel a bit sorry for pumpkins.

A part of the gourd family, which also claims cucumbers and melons as members, the pumpkin hails from the Americas. Sensitive to cold in spite of its tough skin, it requires temperate weather, regular watering and lots of space to flourish. As evidenced by a predicted pumpkin shortage in the Northeast, it does not fair well in floods or hurricanes.
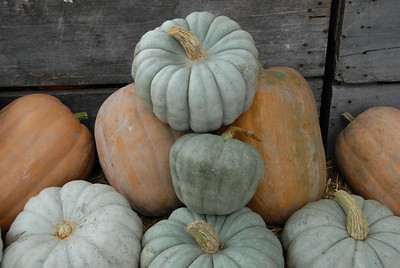
What to do once a hefty, blemish-free pumpkin had been bought from a local farm stand or plucked from my parents’ garden used to baffle me. Cleaning and chopping this unwieldy ball without severing a finger, well, that seemed next to impossible. Then there were the quantity questions. How much pumpkin would I get from a whole pumpkin? What was the weight/quantity difference between raw versus cooked? Fresh versus canned? No wonder my mother stuck with dessert recipes calling for canned pumpkin.

To answer these pressing questions, I consulted my dog-eared copy of The Joy of Cooking (Scribner, 1997). According to Rombauer, Rombauer Becker and Becker, one pound of pumpkin provides 13 ounces of trimmed meat. Cooks should allot 8 to 12 ounces of untrimmed pumpkin per serving.
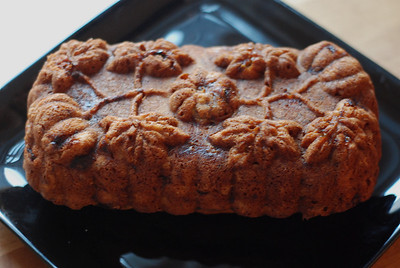
That left the mystery of what to do with my pumpkin. Much of the world uses it in savory and sweet dishes. The French put it in soups and in bread, pain de courge, which is consumed at breakfast or as a snack. For breakfast, Cypriots may choose kolokotes, a small pie resembling a Cornish pasty, filled with chopped pumpkin and golden raisins. Caribbean cooks pair it with chilies and legumes and use it in hearty, fragrant stews. Moroccans dine on couscous dotted with chunks of pumpkin, and Turks end their dinners with bowls of pumpkin poached in a simple syrup and topped with pistachios or walnuts.

Me? I like to put it in curries, breads, puddings and, of course, soup.

PUMPKIN SOUP
I find this works perfectly without the addition of cream but if I feel like dressing up or stretching the soup, I will add a few tablespoons right before serving and claim that tonight I’m featuring “pumpkin bisque soup.”

Serves 6 to 8

4 tablespoons butter
1 white onion, diced
3 cloves garlic, chopped
1½ tablespoons dried thyme
½ cup apple cider
2 quarts chicken or vegetable stock
2 large potatoes, washed, peeled and chopped
1 pound, 13 oz can of pure pumpkin
1 tablespoon onion powder
1 tablespoon garlic powder
2 tablespoons honey
Salt, to taste
Freshly ground black pepper, to taste
⅛ to ⅓ cup whipping cream, optional
Creme fraiche, optional

Melt the butter in a medium-sized saute pan. Add the onion and saute until soft. Add the garlic and thyme and cook until the onion becomes translucent and the garlic golden but not dark brown.

Pour the cider, stock, potatoes, pumpkin, onion powder, garlic powder, honey and garlic-onion-thyme mixture into a large stockpot. Bring to a boil then lower the temperature to medium-low. Simmer for 40 minutes, adding water if soup boils down too much.

Using a blender or food processor, puree the soup in batches, placing the finished soup in a clean stockpot. Once it has been pureed, add salt and pepper to taste. If adding cream, do so at this time, then simmer over low for another 5 to 10 minutes.

Ladle into warmed bowls and top with a dollop of creme fraiche.
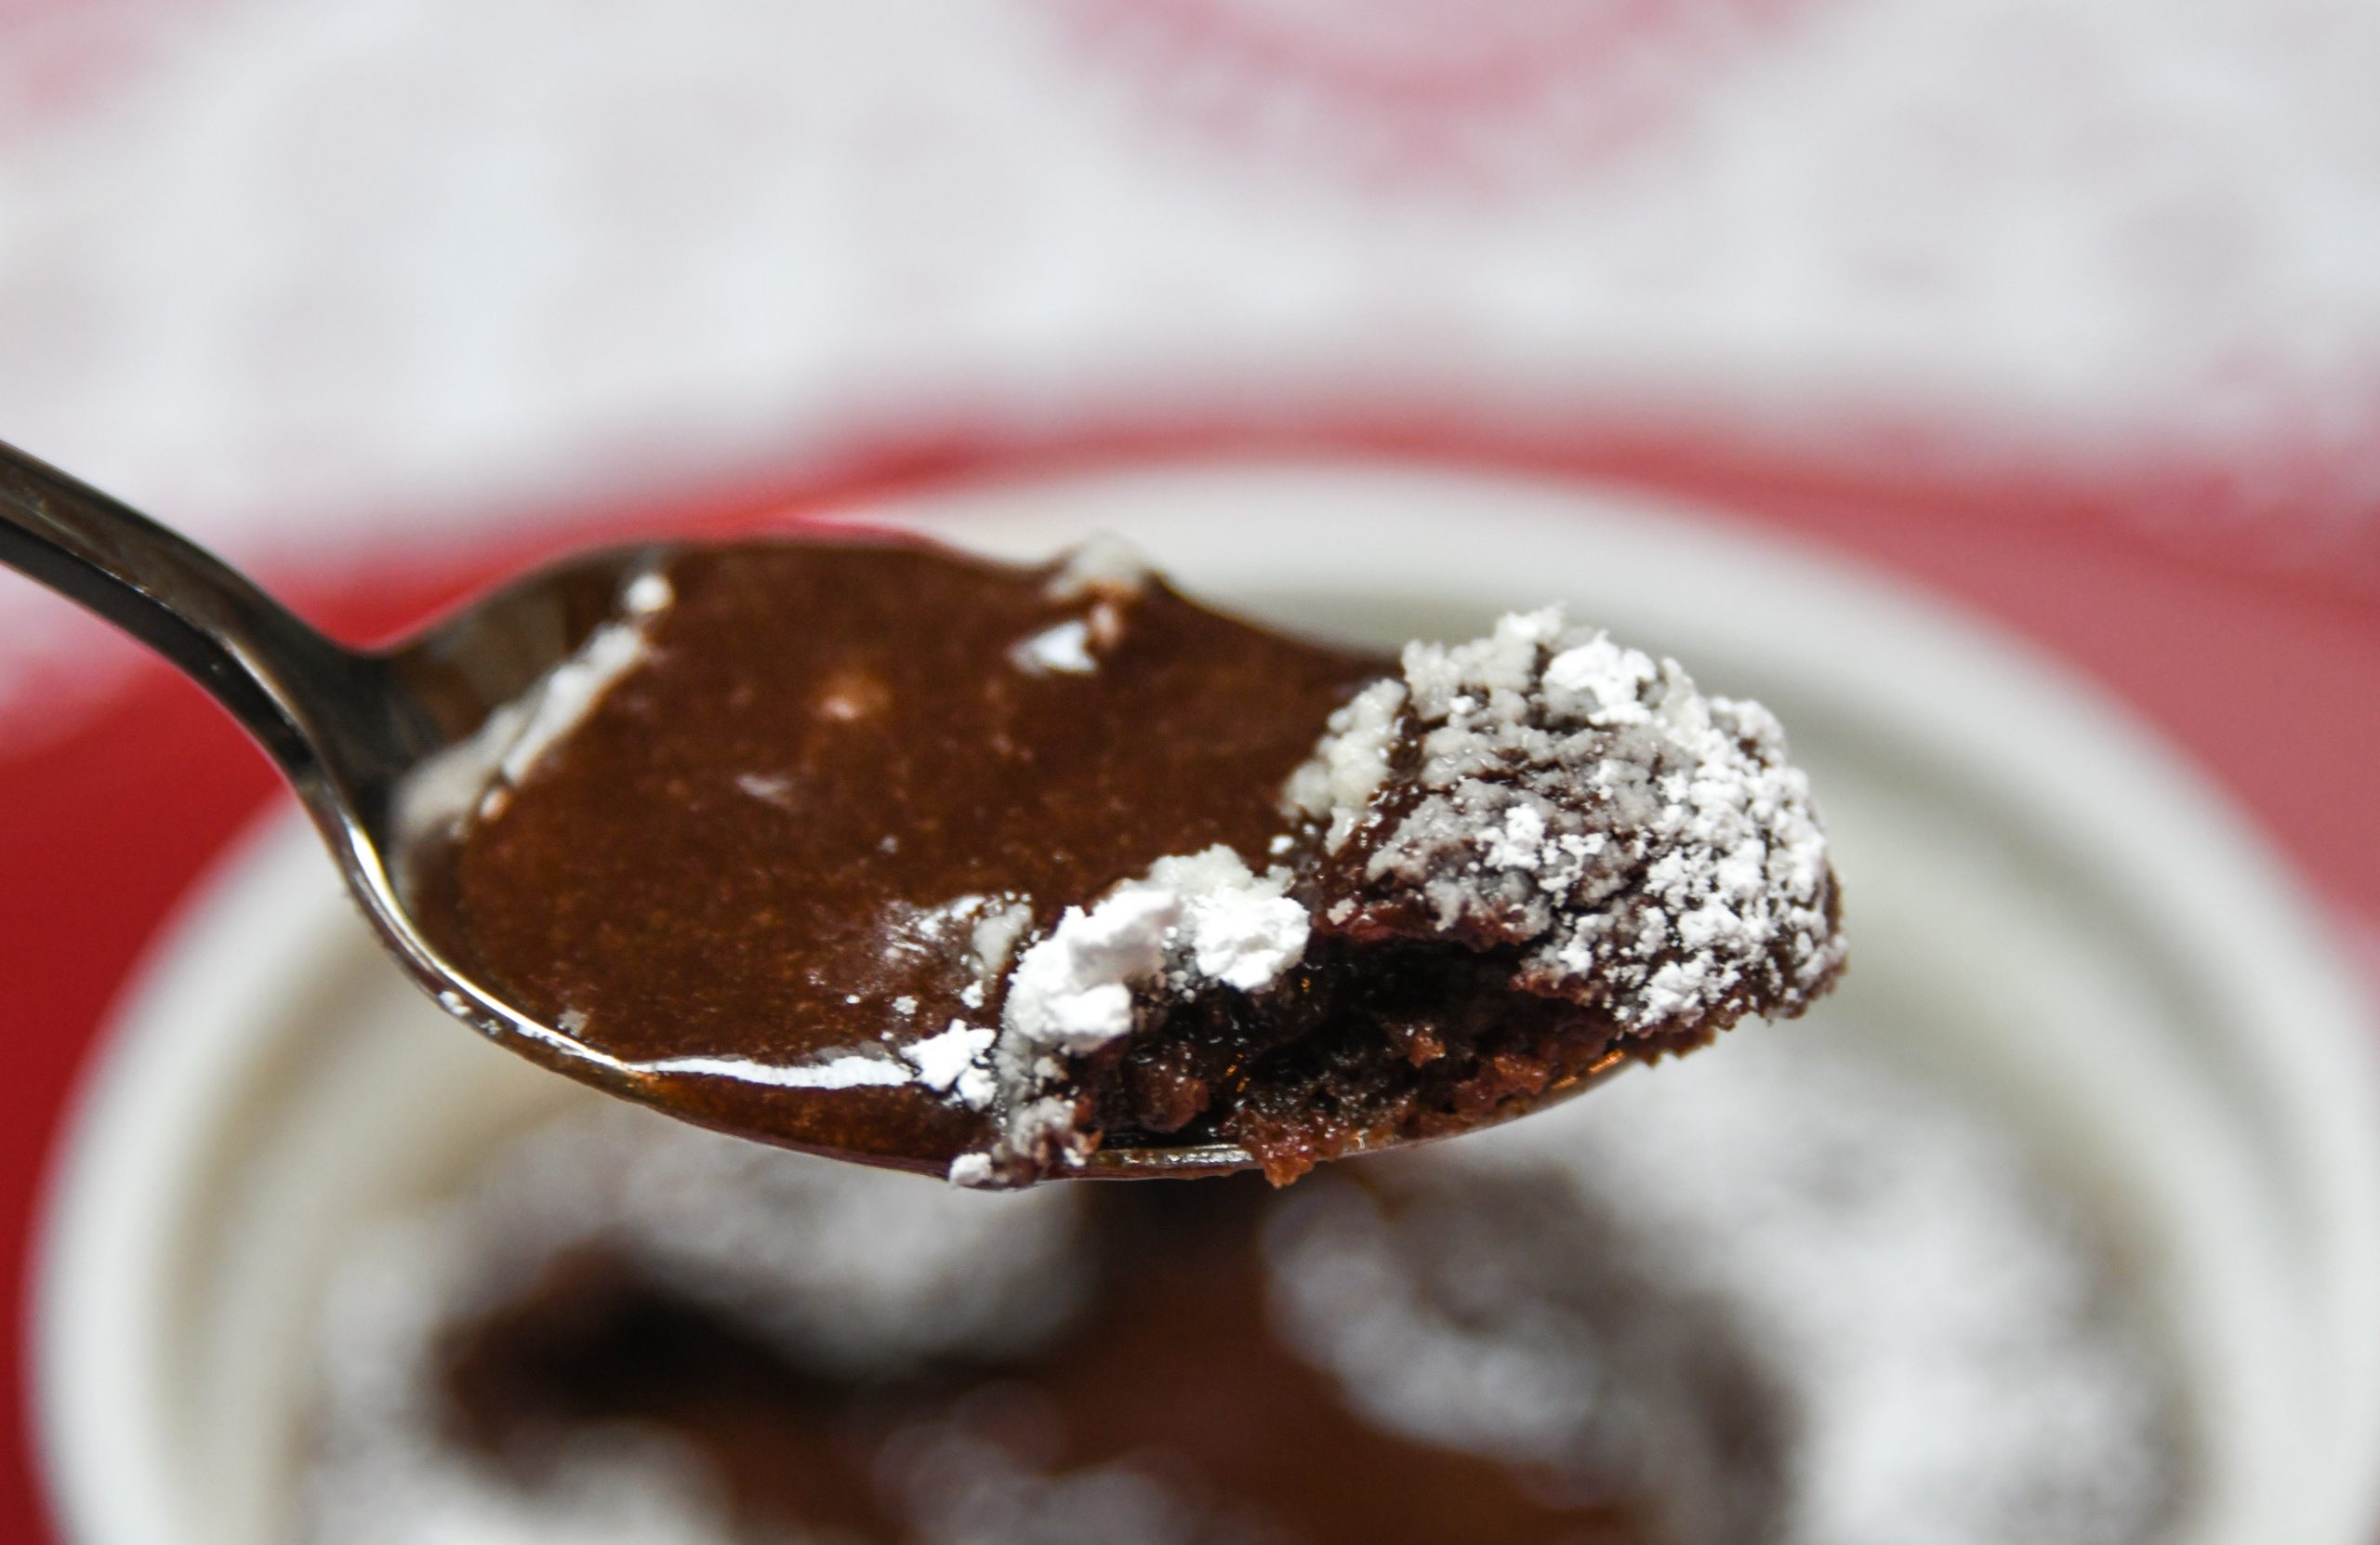
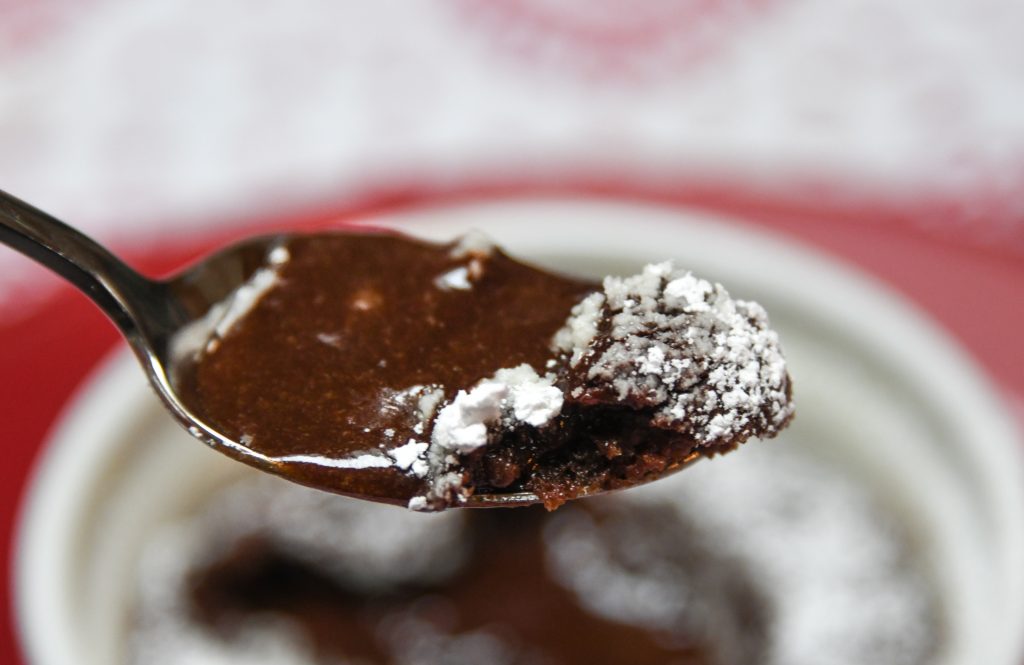
spoonful of baked chocolate pudding

Warm & Gooey Baked Chocolate Puddings

spoonful of baked chocolate pudding
A spoonful warm & gooey baked chocolate pudding

There’s very little that I can say about chocolate that hasn’t been said many, many times before. As you probably know, it comes from the seeds of the cacao tree. This evergreen hails from Latin America, from the area between southern Mexico and the northern Amazon basin. Once collected, the seeds are roasted, fermented and ground to make the heavenly treat known as chocolate.

A little history

The ancient Mayans were probably the first to enjoy hot chocolate. Archeological evidence shows that they buried their dead with the bowls and jars used to drink it.

The Mayans weren’t alone in their love of a good chocolate beverage. The Aztecs drank it cold and sweetened with honey. Both cultures held chocolate in high esteem. They used it as an offering to the gods and served it at ceremonial feasts. It took until the 16th century for Europeans to encounter chocolate. Spanish conquistadors led by Hernán Cortés came across these ‘black almonds,’ as they called cacao seeds, at Tenochtitlan. At first repulsed, they grew to appreciate the Aztec’s dark, sweet drink. Credited with introducing Europe to chocolate and causing the fall of the Aztec Empire, the conquistadors reputedly started the rumor that chocolate was an aphrodisiac.

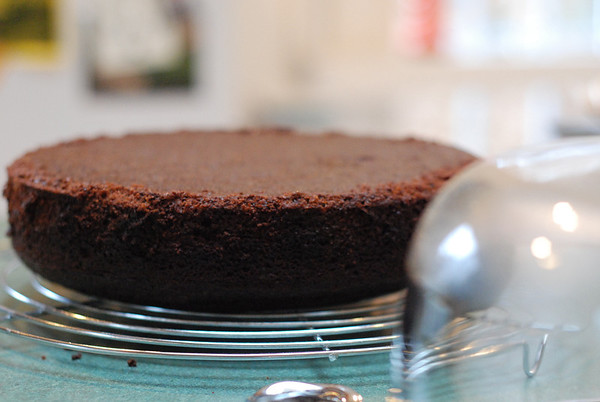
The perennial favorite, chocolate cake

The current chocolate craze

Fast forward five centuries and you’ve got a chocolate craze. You name the dish. In all likelihood chocolate has been incorporated into it. Along with cakes, cookies, pies, sauces, breads, candy and ice cream, it’s in pasta, meat and other savory dishes.

Since I prefer to keep my chocolate offerings sweet, I’ll share a favorite dessert recipe, Warm and Gooey Baked Chocolate Puddings. Occasionally, these individual baked chocolate puddings get confused with that restaurant favorite, molten chocolate lava cakes. Unlike those warm cakes, these are gooey puddings with light, cake-like crusts. Enjoy them with cold glasses of milk or tall iced coffees.

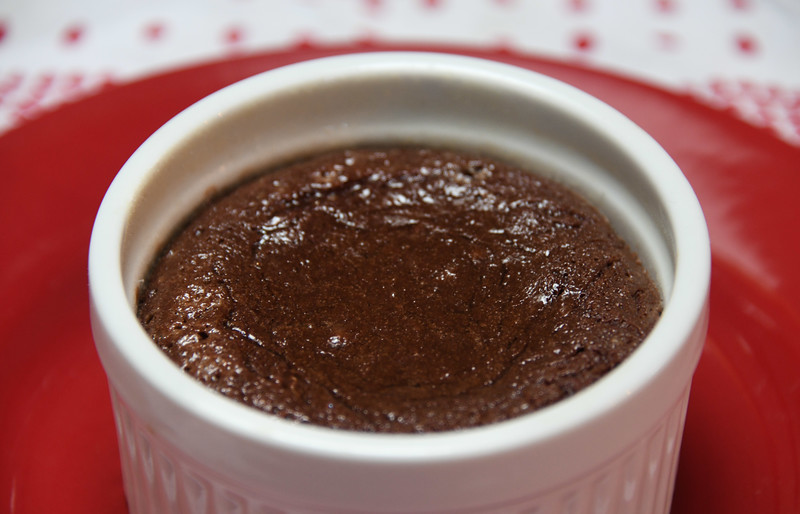
A freshly baked chocolate pudding

Warm & Gooey Baked Chocolate Puddings

Serves 4 to 5

5 ounces bittersweet chocolate, chopped
8 tablespoons unsalted butter
3 large eggs or 3/4 cup Eggbeaters
3/4 plus 1 tablespoon granulated sugar
1/4 cup all-purpose flour
2 tablespoons confectioner’s sugar

Preheat the oven to 400 degrees Fahrenheit. Grease and flour four or five (5-ounce) ramekins.

Put the chocolate and butter in a large, microwave-safe bowl or spouted pitcher. Microwave on high, stirring frequently, until the chocolate has melted, about 3 to 5 minutes.

In a small bowl whisk together the eggs, granulated sugar and flour. Add 2 to 3 tablespoons of the melted chocolate to the egg mixture and stir to combine. Stirring the entire time, slowly pour the egg mixture into the warm chocolate.

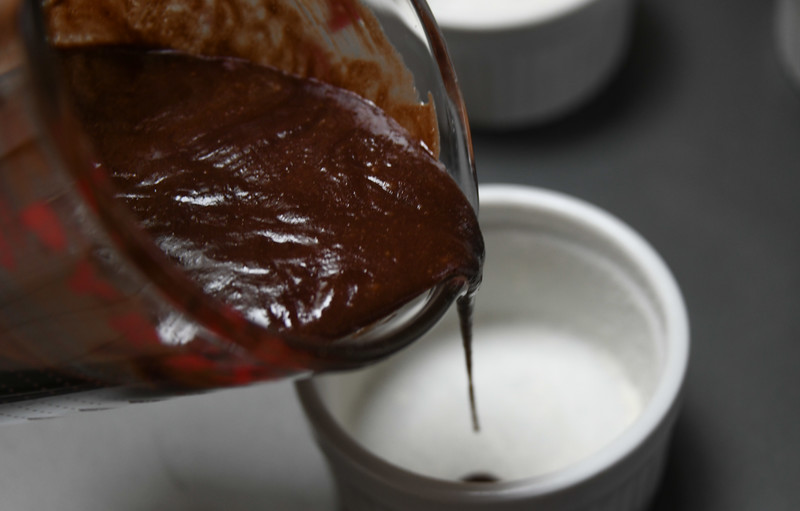
Spoon or pour, if using a spouted pitcher, equal amounts of chocolate pudding into each ramekin. Place the ramekins on a baking sheet. Bake until the puddings have formed a light, cake-like crust on top and around the edge, about 8 to 11 minutes. Note that they should still be jiggly and pudding-like. If they’ve set and hardened, they’ve baked too long. Remove, place the ramekins on individual dessert plates and dust with the powdered sugar. Serve the baked chocolate puddings immediately.

Look at Those Mussels!

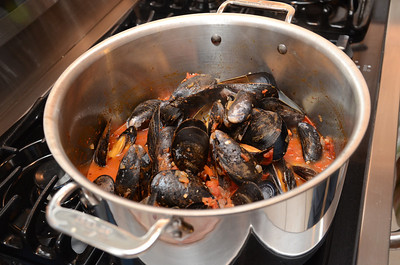
Whenever I see mussels, I think of Belgium, specifically its capital, Brussels. No matter where you go in this medieval city, you invariably come across someone selling these succulent bivalves. Whether served with fries, as in moules frites, or in an herb-white wine broth, as in moules marinière, mussels are a common treat in this land.

Belgians aren’t alone in their love of mussels. Archeological evidence indicates that Europe has been consuming these dark blue- to black-shelled mollusks for over 20,000 years.

Unlike Europeans, I was a bit of a late comer to this shellfish. Now, though, I’m hooked on its creamy texture and mildly sweet flavor that’s slightly reminiscent of lobster. I also love its eco-friendliness. Take, for instance, the North American blue mussel. It grows in abundance, is low in contaminants and doesn’t adversely affect the environment. Plus, it’s both inexpensive and delicious. Can’t ask for more than that!

Although dozens of species exist, I most often see the aforementioned blue mussels. Found on the Mediterranean, Atlantic and Pacific coasts, blue mussels range from two to three inches in length and have a dark blue shell. Unless otherwise indicated, recipes will normally call for this species of mussel.

In terms of quality, the tinier the mussel is, the better the dining experience will be. As always, avoid those with broken or damaged shells. Steer clear of overly heavy or lightweight and rattling ones. The former may be weighed down with sand. The latter may contain a dead mussel.

Before cooking mussels, I consider what foods go well with them. Their juicy meat marries nicely with celery, clams, garlic, lemon, onions, pasta, potatoes, shallots, spinach and tomatoes. They are complimented by such herbs and spices as chives, curry powder, mustard and tarragon. In terms of cooking liquids they respond beautifully to Belgian or Belgian-style beer, cream, olive oil, Pernod, red wine vinegar, vermouth and dry white wine.

MUSSELS PROVENCAL
Serves 4 as an entrée; 6 as an appetizer

When cleaning mussels, discard those with broken shells or that don’t close up when tapped on the shell. These are already dead and should not be cooked with the live mussels.

3 tablespoons olive oil
1 medium yellow onion, diced
1/4 teaspoon salt
4 cloves garlic, minced
1 red bell pepper, washed and diced
11/2 teaspoons dried thyme
1 teaspoon dried basil
1 teaspoon capers, rinsed
1 (28-ounce) can diced tomatoes and its juices
1 cup white wine
juice of 1 lemon
1/2 teaspoon ground black pepper
4 pounds mussels, scrubbed and beards removed
1/2 cup flat leaf parsley, washed and chopped
toasted baguette or batard, for serving

In a medium stockpot heat the olive oil. Add the onion and salt and sauté until softened, 5 to 7 minutes. Add the garlic, bell pepper, thyme and basil and sauté for another 5 minutes. Tumble in the tomatoes, white wine, and black pepper, bring to a boil and simmer for 5 minutes. Taste and adjust for seasonings before adding the mussels. Cover the pot and allow the mussels to cook until opened, about 5 to 10 minutes. Don’t overcook the mussels as this will make them tough. Add the parsley and toss to combine. Spoon the mussels into a large bowl and pour the sauce over top. Serve alongside toasted baguette or batard.

Warmly Exotic Zahtar

For me one of the best parts of travel is experiencing how and what other cultures eat. When I’m away from home, I try not only to eat like the locals but also to pick up the ingredients needed to cook like them. By the end of a trip I’ve invariably weighed down my bag with hastily jotted recipes, odd cooking pots, rare spices and exotic edibles. Out of the countless things that I’ve dragged through U.S. customs, the warm, zesty zahtar (also spelled za’atar or zaatar) remains a particular favorite.

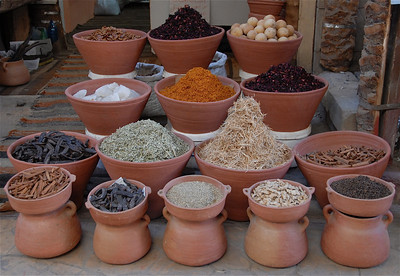
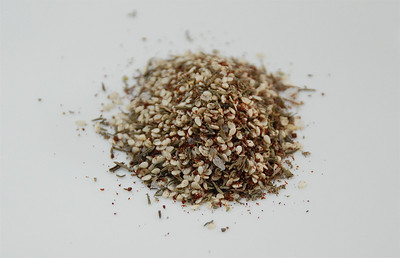
Originating in the Middle East, zahtar is an aromatic herb and spice blend. Its name likely comes from the Arabic word for wild thyme, zaatar. In fact, dried thyme is one of the main ingredients. Ground sumac, sesame seeds and sometimes dried marjoram likewise appear in this seasoning.

People use zahtar to spice up an array of foods. Some cooks sprinkle it over labneh, a strained yogurt from the Middle East. Others mix zahtar with olive oil and slather this over breads. Then there are those who season vegetables or meats with it. Me? I add a little excitement to humdrum baked chicken by spreading zahtar over it.

You can find zahtar at specialty and Middle Eastern markets as well as online at such stores as Kalustyan’s. Better yet, you can make zahtar yourself. It takes only a few minutes and ingredients to make this versatile blend.

ZAHTAR
Makes 1/3 cup

3 tablespoons sesame seeds
2 tablespoons dried thyme
1 tablespoon ground sumac
1 1/2 teaspoons dried marjoram
1/2 teaspoon coarse sea salt

Mix the ingredients together in a small bowl. Store in an airtight container until ready to use.

CHICKEN ZAHTAR
Serves 4

3 tablespoons zahtar
4 skinless chicken breasts
3 tablespoons olive oil plus extra for greasing the baking dish

Spread the zahtar evenly over a clean work surface.

Rinse off the chicken breasts and lay them on a large serving platter or baking dish. Coat them with olive oil and then dredge them through the zahtar, covering them completely. Place the coated chicken on a large plate, cover and refrigerate for 1 hour.

Preheat the oven to 425 degrees Fahrenheit. Coat the bottom of a baking dish with olive oil. Add the chicken to the dish.

Bake the chicken for 40 minutes or until cooked completely. A probe thermometer inserted into the thickest part of the chicken should read 165 degrees Fahrenheit. Serve immediately alongside couscous or shepherd’s salad.

Egghead

When I was in my twenties, I became a wishy-washy vegetarian. You know the type — won’t eat meat but still wolfs down cheese; won’t touch roast chicken but has no problem with soup made from chicken stock. Unsurprisingly, my mother was outraged. What infuriated her most was my refusal to eat bacon. ‘How can you eat eggs/pancakes/French toast/waffles without bacon? It’s unheard of.’

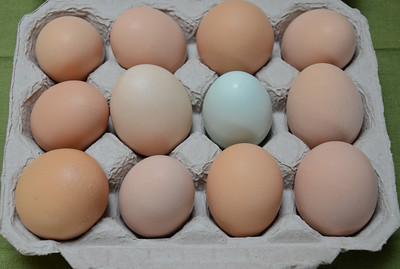
In retrospect she should have been pleased that I’d kept eggs in my diet. As one of my main sources of protein, they sustained me far better than a few strips of bacon ever would have. And, yes, even back then I knew that they were high in cholesterol; one large egg contained as much as 213 milligrams. However, the amount of protein, percentage of Vitamins B, D and E, and versatility that they provided far outweighed their downside. Plus, when I withheld the yolks, I still ended up with a darned nice omelet.

Regarding eggs, the late author and food historian Alan Davidson said it best: They are ‘. . . the astonishing and unintentional gift from birds to human beings . . ..’ Extremely versatile, they serve a variety of culinary roles. They can be eaten on their own after being baked, boiled, pan-fried, poached or scrambled. They can act as a leavener in baking and a thickener in custards, sauces and dressings. They can dress up pastries. Just think about shiny, golden-topped, fruit studded or braided breads; those beautiful crusts came courtesy of egg washes. They’re also the base of many classic offerings such as eggnog, mayonnaise and souffles.

Eggs have a wealth of flavor affinities. They partner wonderfully with asparagus, basil, pepper, potatoes, spinach and such cheeses as feta, Gruyere, mozzarella and Parmesan. They likewise pair well with cream, creme fraiche, garlic, ham, mushrooms, onions, parsley, smoked salmon, scallions, shallots, sausage, steak, tomatoes, truffles and, my mother’s all-time favorite, bacon.

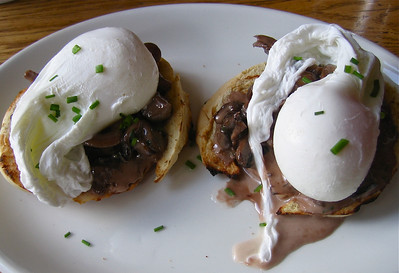
The beauty of eggs is that they require little preparation and no additional ingredients. Heat a little olive oil in a frying pan. Crack an egg and plop it into the heated pan. In a snap dinner is served. Along with pan-frying, I like to poach eggs and serve them over a smoked salmon-topped English muffin. Replace the smoked salmon with sauteed wild mushrooms and I’ve got a light take on eggs Benedict.

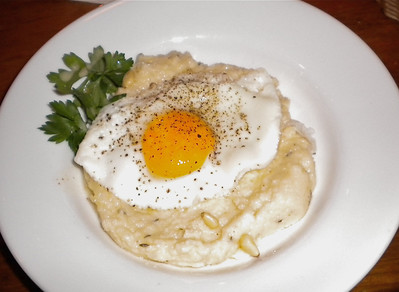
Beyond the usual Benedicts, omelets, frittatas and souffles I occasionally use eggs in such savory dishes as pasta and polenta. With that I’ll offer a hearty polenta dish featuring, yep, an egg.

EGG AND PARM POLENTA
Serves 4

2 cups water
2 cups chicken stock
1 cup coarse yellow cornmeal
2 tablespoons salted butter
2/3 cup grated Parmesan cheese
1/3 cup pine nuts, lightly toasted
1/2 tablespoon ground black pepper, divided
2 tablespoons olive oil
4 large eggs

In a large saucepan bring the water and chicken stock to a boil. Slowly pour in the cornmeal, stirring with a wooden spoon as you add it. Reduce the heat to low and continue stirring for about 30 minutes or until the polenta is extremely thick and the spoon can support itself in the pan.

Five minutes before the polenta has finished cooking, start making your sunny side-up eggs. Heat the olive oil in a large, non-stick frying pan on medium. Once the oil has heated, crack an egg and pour it into the pan. Repeat with the remaining three eggs, making sure that no eggs touch. Depending on the size of your pan, you may need to fry the eggs in batches.

Fry the eggs on one side until the whites have browned slightly on the edges and the yolks have set slightly. Take the pan off the heat.

At this point you should also remove the polenta from the heat and stir in the butter, Parmesan cheese, 1/4 teaspoon ground black pepper and pine nuts. Spoon equal amounts of polenta onto four plates. Top each mound of polenta with a fried egg and dash of ground black pepper. Serve immediately.

Say Cheese!

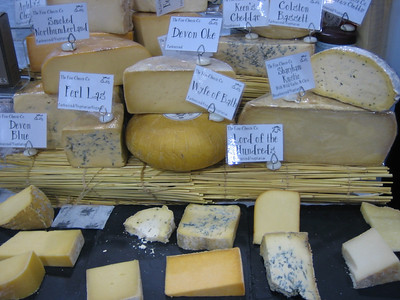
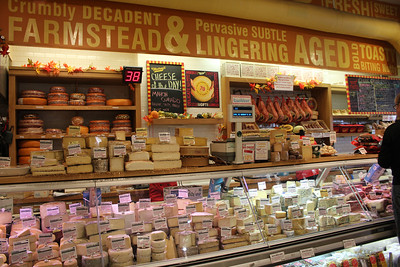
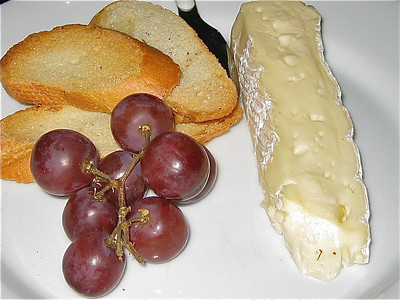
This week I’ve been working on non-Kitchen Kat cookbook reviews, one of which explores cheese. I can think of no better person to critique a cheese book for I am an absolute fromage fanatic. Whenever I’m on vacation or craving comfort food, I skip the ice cream, cookies and candy. Instead I buy a wedge of Manchego, Emmental or drunken goat and a loaf of good bread and I eat cheese.

The writer Clifton Fadiman once described cheese as “milk’s leap toward immortality.” How true. It all begins with milk. Allow natural bacteria or starter culture work its magic on goat’s, sheep’s, cow’s or buffalo’s milk. Eventually the milk thickens and then separates into curds and whey. Drain off the liquid whey and you’re left with curds. From here it’s all about shaping and ripening or aging those milk solids. The end result? Cheese.

Rather than muddling through how a gallon of whole cow’s milk becomes a pound of provolone, I’ll stick with what I know — cooking with and eating cheese. However, if you’re interested in learning more about cheese making, look at Steven Jenkins’ Cheese Primer (Workman Publishing, 1996) or Mary Karlin’s Artisan Cheese Making at Home (Ten Speed Press, 2011). Online you can check out CurdNerds and New England Cheesemaking Supply. If you’re in NY, stop by Murray’s Cheese in the Village. Along with Zabar’s and Fairway, it’s one of my favorite places to sample and learn about cheese.

In addition to nibbling on it as a snack, main course or savory dessert, I like to cook with cheese. Often I’ll do something as simple as sprinkling goat, feta or Stilton over mixed greens or layering grilled Haloumi between basil and slices of tomato and whole grain bread. Truthfully, that’s hardly cooking at all. Other times, though, I’ll whip together a batch of cheese scones, fondue, raclette, soup, polenta or casserole as well as the standard mac ‘n’ cheese or pizza. Whether I use it as a main or secondary ingredient, cheese always seems to make my resulting dish shine.

MEDITERRANEAN TARTARE
Serves 4

1 pint cherry or grape tomatoes
1 cucumber
4 ounces Haloumi cheese, diced
1 scallion, minced
1 tablespoon chopped fresh mint
1 teaspoon freshly ground black pepper
1 tablespoon extra virgin olive oil
dash of salt, optional

Wash then cut the tomatoes into small cubes and place in a large bowl. Skin, slice into quarters length-wise then remove the seeds of the cucumber. Once de-seeded, cut the cucumber into small pieces and place into the bowl. Add the Haloumi, minced scallion, mint and freshly ground black pepper to the bowl and toss the ingredients together.

Fill four 6-ounce ramekins with the tartare. Note that if you don’t own ramekins, you can use four empty, lidless and washed tuna cans as substitutes. Refrigerate the ramekins for 10 to 15 minutes, until the tartare has chilled and set. Remove them from the refrigerator and invert each ramekin onto a plate. Drizzle the top of each tartare with extra virgin olive oil and an optional dash of salt. Serve immediately.

Taking a Stab at Kebabs

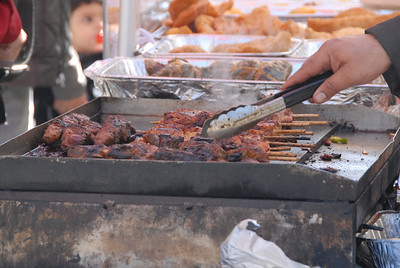
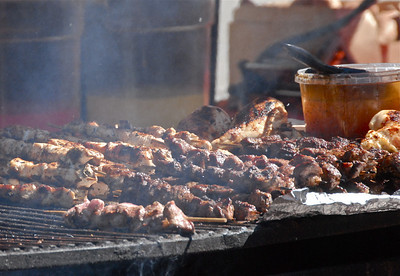
In a rare move for this night owl I was up early this morning, testing recipes. While I can’t say much for marinating swordfish at dawn, the act did get me thinking about the origins of my subject, kebabs. This meal of skewered, grilled meat is attributed to medieval Turkish soldiers who used their swords to cook over campfires. As the Ottoman Empire grew, the popularity of this technique spread across the Mediterranean and Middle East. Eventually it caught on around the world.

Almost every country seems to have its own kebab. In India folks eat tikka, chunks of chicken soaked in yogurt, coriander, garam masala and other spices and then cooked on rods. The French dine on brochettes while diners in Russia and Armenia consume shashlik. In Greece kebabs come in the form of souvlaki, large lamb or chicken cubes marinated in oil, lemon juice and oregano before being lanced alongside onions or green peppers and grilled. Across Southeast Asia satay, small pieces of chicken, pork, goat, beef or fish macerated in fish and soy sauces, sugar, lime juice and spices, remain all the rage.

It doesn’t take much effort to make a kebab. Cut a piece of beef, chicken, lamb or firm-fleshed fish into one-inch cubes. Allow the cubes to steep in a marinade for at least 30 minutes. Once they’ve finished marinating, skewer the cubes, along with optional chunks of onions, eggplant, peppers or mushrooms, on metal or bamboo sticks and grill them over hot charcoal. If using bamboo sticks, remember to soak them in water first. Otherwise, they’ll catch on fire, providing you with an inedible, albeit memorable, meal.

Kebabs finished, I drizzle a little lemon or lime juice, olive oil or sauce over them. Paired with fresh pita, lettuce, tomato and a yogurt dressing, they become a filling sandwich. Laid across a bed of rice or mixed greens, they make a beautiful entree.

CHICKEN SOUVLAKI
Serves 4

1 ½ pounds boneless, skinless chicken breasts, cut into 1-inch cubes
¼ cup olive oil
2 tablespoons lemon juice
½ teaspoon salt
¼ teaspoon ground black pepper
2 teaspoons oregano
tzatziki, for serving
4 individual pitas, optional
2 tomatoes, sliced, optional

For the tzatziki
8 ounces plain yogurt, excess water drained
½ cucumber, peeled, seeded and diced
1 clove garlic, grated
¼ teaspoon dried mint
dash of salt

Mix together the olive oil, lemon juice, salt, pepper and oregano in a small bowl. Place the chicken cubes in a medium-sized bowl and pour the marinade over top. Cover the bowl, place it in the refrigerator and allow the chicken to marinate for 30 minutes to 1 hour.

Meanwhile, in a small bowl whisk together the yogurt, cucumber, garlic, dried mint and salt and refrigerate the tzatziki.

Preheat the grill.

Using metal skewers, insert the cubes of chicken lengthwise on each skewer, leaving a little room between each chunk of meat. Place the skewers on the hot grill and cook for approximately 5 to 10 minutes or until chicken is completely cooked. Remove the skewers from the grill and place on a platter. Serve immediately with a side of tzatziki sauce and optional pita and tomato.

As Easy As . . .

If you think back to early last winter, you may remember all the fuss about how 2011 would be the year of the pie. Rachel Ray predicted it. Newspapers and cooking magazines touted it. Even I wrote an article about how pie would usurp the cupcake and steal the title of ‘America’s favorite sweet.’

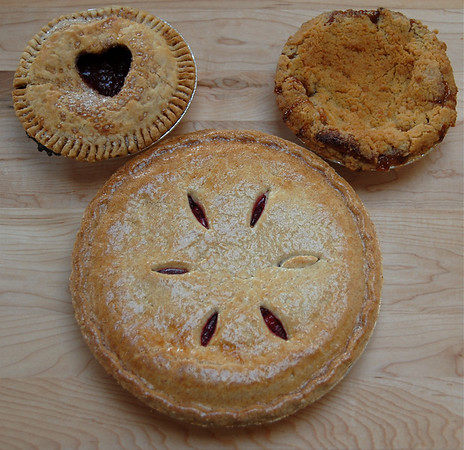
Although the hype over pie has subsided, my interest in it hasn’t. This summer I just keep baking it and baking it. In fact, as I type this, I have a homemade lemon meringue pie cooling on the counter behind me. It may not be the year of the pie but it’s definitely my summer of pie.

While my obsession is relatively new, the dish itself is quite old. Historians believe that the ancient Egyptians created the first pie. However, they give the ancient Romans credit for the first published recipe. This was for a rye-crusted goat cheese and honey pie.

In his weighty and invaluable encyclopedia, The Oxford Companion to Food (Oxford University Press, 2006), the late writer Alan Davidson stated that the name pie may have come from magpie. The latter is a member of the crow family and known for collecting an array of things. Pies also contain an assortment of ingredients, such as fruits and custards, meats and vegetables, or, as in the case of the ancient Romans, rye, cheese and honey. Perhaps it’s a stretch but you can see how the one came to signify the other.

Early pies tended to feature meats and savory fillings. Mine, however, epitomize the traditional, sweet, American repast. Like millions before me, I load up my pie crusts with berries, cherries, apples, peaches or custards as well as with such late 20th century favorites as chocolate, peanut butter and yogurt. I blanket the fillings with a crumble, meringue, or dough or just leave leave them topless.

At one time, where I lived would have determined what type of pie I made. Southerners were known for their sweet potato, pecan, mud and chess pies while New Englanders were famed for their pumpkin and blueberry. In Florida folks ate tart key lime pies. In Pennsylvania, Dutch country molasses-rich shoofly pie reigned supreme.

Since I don’t live in a region renowned for a specific pie, I’ve been making whatever sounds tasty. This week I’m stuck on chocolate-peanut butter and lemon meringue pies. Last week it was all about chocolate cream pie from the previously reviewed Martha Stewart’s Pies & Tarts.

CHOCOLATE CREAM PIE
Adapted from Martha Stewart’s Pies & Tarts (Clarkson Potter, 2011)
Serves 6 to 8

1 store-bought chocolate cookie crust
2 1/2 cups skim milk
2 ounces bittersweet chocolate, roughly chopped
2 1/2 ounces semi-sweet chocolate, roughly chopped
1/2 cup granulated sugar
1/4 cup cornstarch
1/4 teaspoon salt
4 large egg yolks
1 teaspoon pure vanilla extract
1 cup heavy cream
1/3 cup confectioner’s sugar
2 ounces semi-sweet chocolate chunks, shaved with a vegetable peeler

In a medium saucepan heat the milk and chocolate over medium heat, whisking together until the chocolate is melted and blended.

In a small bowl mix together the granulated sugar, cornstarch and salt. Add 1 cup of the milk-chocolate to the dry ingredients and whisk until well-combined. Pour back into the saucepan, whisk to combine and cook over medium heat, stirring constantly, until bubbling and thick, about 5 minutes.

In a medium bowl whisk the egg yolks. Add 1 tablespoon of the hot chocolate mixture to the eggs and whisk to combine. Add another tablespoon or two to the eggs and whisk. Repeat until you’ve added about 1/2 cup of hot chocolate to the eggs and then pour the egg-chocolate mixture into the saucepan. Cook over medium heat, stirring constantly, until the custard is thick and bubbles, about 2 minutes. Add the vanilla and stir to combine. Allow to cool for 10 minutes.

Pour the custard into the crust. Place a sheet of plastic wrap directly onto the surface of the custard. Refrigerate for 4 hours or up to 1 day.

To make the topping, whip the cream on medium-high until soft peaks form. Add the confectioner’s sugar and whip until stiff peaks form. Spread the whipped cream over the custard and then sprinkle the shaved chocolate on top.

Jansson’s Surprising Temptation

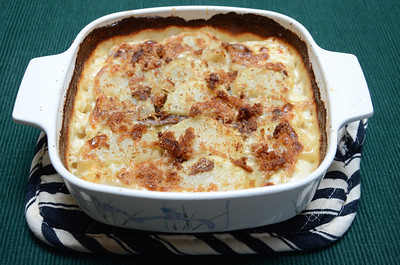
As of late I’ve been up to my whisk in work. That won’t stop me, though, from passing along a good recipe. This time it’s for a Swedish specialty known as Jansson’s Temptation. Featuring anchovies fillets and sliced potatoes, this casserole has become a surprise hit in my household. Usually anchovies are a hard sell but, when paired with potatoes, sautéed onions and a bit of cream, they’re an absolute delight to eat.

Jansson’s Temptation’s exact origins remain a mystery. Some historians attribute the dish to a 19th century Swedish religious reformer who loved anchovies, onions and spuds. Others point to an early 20th century Stockholm hostess who created the entrée for a dinner party. She reputedly dubbed the invention “Jansson’s Temptation” in honor of a 1928 film of the same name. No matter how it got its start, it continues to be a beloved staple of Swedish cuisine.

In Sweden the casserole often pops up at smorgasbords, those buffet-style meals featuring hot and cold foods. In my house it serves as a warm and satisfying meal on rainy, summer evenings and dark, fall days. Pair Jansson’s Temptation with a mixed greens salad or enjoy it on its own with cup of strong coffee or shot of chilled aquavit.

JANSSON’S TEMPTATION
Serves 6

¼ teaspoon ground white pepper
1/4 cup breadcrumbs
2 tablespoons grated Pecorino Romano cheese
2 tablespoons unsalted butter
2 small white onions, thinly sliced
1 ½ pounds potatoes, washed, peeled, halved and sliced into 1/4-inch crescents
2 (2-ounce) cans of anchovy fillets, drained
¾ cup heavy cream
½ cup milk
1 tablespoon unsalted butter, melted

Preheat the oven to 400 degrees Fahrenheit. Grease a 2-quart baking dish. In a small bowl mix together the ground white pepper, breadcrumbs and Parmesan cheese and set aside.

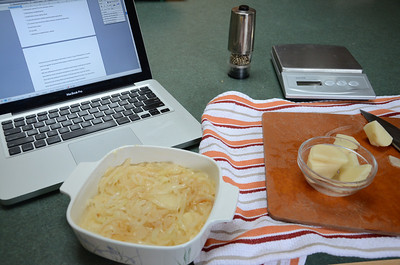
Melt two tablespoons of butter in a medium-sized frying or sauté pan on medium heat. Add the onions and sauté until golden in color, about 7 minutes.

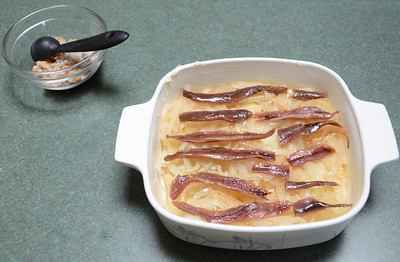
Place half of the potatoes in the bottom of the greased dish. Layer the onions, followed by the anchovy fillets and remaining potatoes over them. You may need to press down on the layers so that everything fits snugly in the dish.

Whisk together the cream and milk and pour it into the baking dish. Sprinkle the breadcrumb mixture over the potatoes and then drizzle the melted butter over the top. Bake for 45 to 50 minutes, until the potatoes are soft and golden brown. Serve warm.

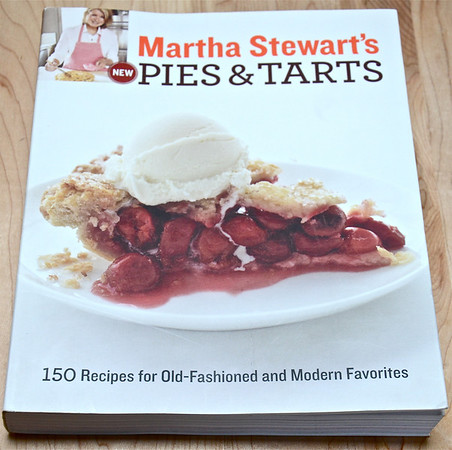
Martha Stewart’s Pies & Tarts

I grew up with a parent who loathed Martha Stewart. Mention her name and my dad would become apoplectic. “That woman! She’s . . .!”

I never understood it. After all, it was my mother, not he, who cooked the family meals and did our decorating. Who knows? Maybe he envied folks who ate bouillabaisse and coq au vin at a table adorned with homemade pine cone centerpieces and dried wild flower napkin rings. Whatever the cause, I knew that bringing a Martha Stewart cookbook or magazine into the house was tantamount to treason. That I’m a fan of one of her cookbooks, well, I can imagine what he’d say – Judas! Yet, I have to admit that I like her latest offering, Martha Stewart’s Pies & Tarts.

Compiled by the editors of Martha Stewart Living, Martha Stewart’s Pies & Tarts provides 150 simple to mildly difficult recipes for pies and tarts. Whether I’m pressed for time or able to spend a few hours in the kitchen, this book has an array of sweet and savory treats to suit my needs. Need a quick, seasonal or chocked-full-of-chocolate dessert? I’ll whip together a phyllo tart with sugared pluots or chocolate cream pie. Want something different for dinner? I’ll make the leek and olive tart or Alsatian potato pie. All are easy and utterly delicious.

Divided into 10 chapters, the cookbook begins with “Classic,” 10 recipes for such perennial favorites as lemon meringue, pumpkin and lattice-top blueberry pie. It then moves on to one of my preferred pie types, “Free Form,” unstructured creations that need neither pie pans nor fussy adornments. Galettes, crostatas and phyllo tarts fall into this category as do, oddly enough, hand-held pies. As these must be formed with cookie or biscuit cutters, hand-held pies seem better suited to the “Rustic” rather than “Free Form” chapter. It’s a small complaint in an otherwise solid baking book.

For newcomers or those requiring a refresher in pie baking, Martha Stewart’s Pies & Tarts goes over the basics in a section entitled, sensibly enough, “The Basics.” Here readers learn how to poach fruit, make a meringue as well as a variety of doughs and craft fancy pie crusts. All of the techniques needed to create a good pie can be found at the back of the book.

As much as it would drive my late father crazy, I’ve found Martha Stewart’s Pies & Tarts to be a big crowd pleaser. It’s a welcomed addition to my cookbook collection. No doubt it will be the same for you, too.