As promised in the previous post, I have the perfect treat in which to feature your homemade maple sugar, maple sugar cookies! Inspired by a recent visit to Montreal, where I spied a wide range of maple-themed sweets and saw that, as rumored, Canadians adore pure maple syrup-infused foods, Canadian Maple Sugar Cookies are a delicious way to bring that sweet, earthy taste to your baking.
For this recipe don’t skimp on the maple sugar or syrup. Stay away from those mass-marketed mixtures of corn syrup, high fructose corn syrup and artificial colors and ingredients. Don’t get fooled by tiny bottles of “maple extract” or “maple essence,” either. Thinking that I could punch up a traditional poundcake, I tried one of these flavorings once. Consisting of alcohol, water and “natural flavors,” the so-called extract smelled like soy sauce and tasted nothing like maple. It did not end up in my cake.

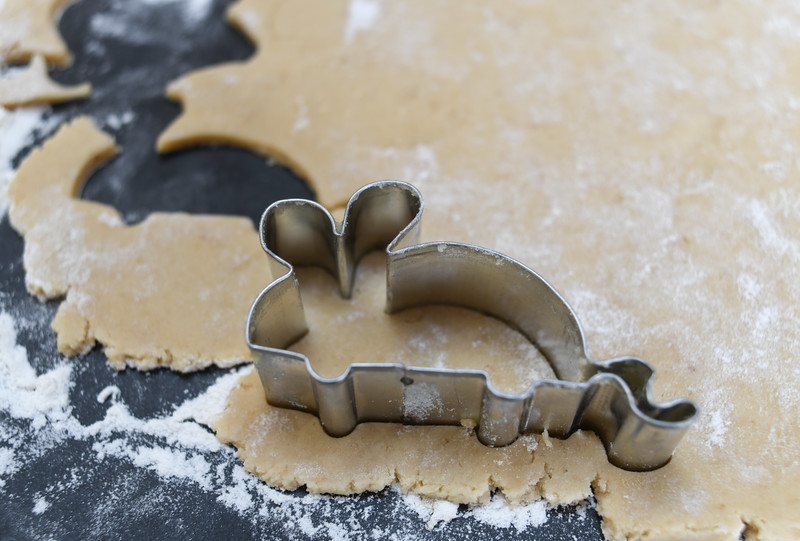
Mouse cookie cutter with a tiny tail that kept falling off. I just told everyone that the cookie cat ate it.
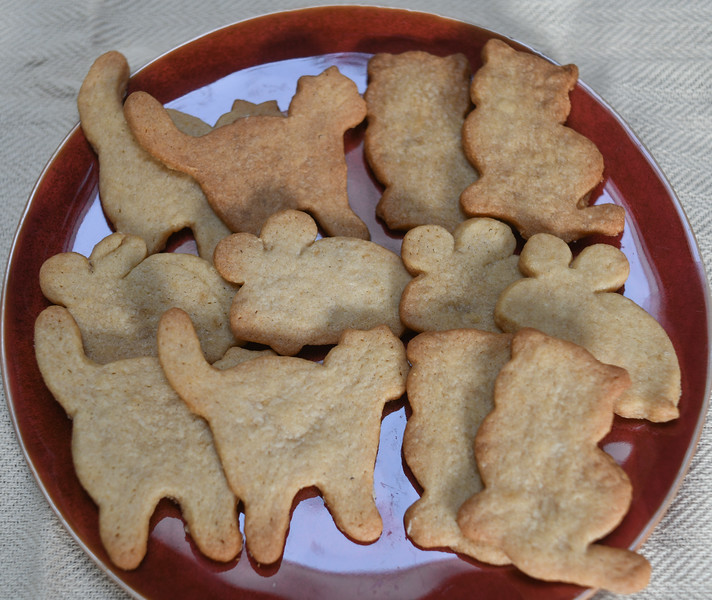
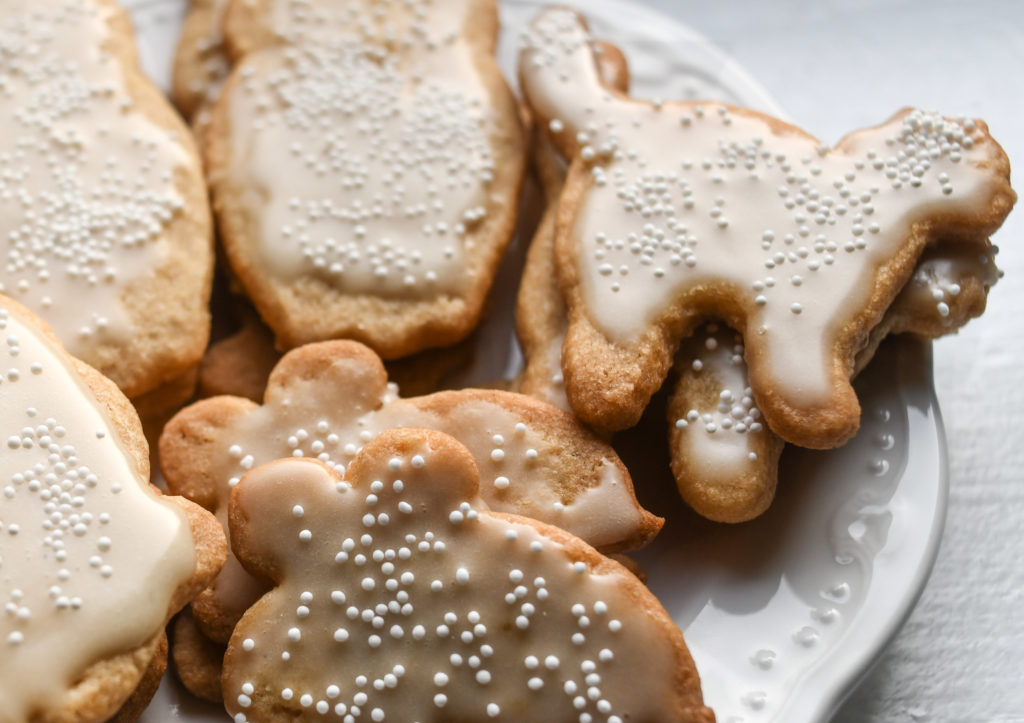
If you own a maple leaf-shaped cutter, you can make your cookies even more “maple-licious” by using that. Since I have a surplus of cat cookie cutters (Go figure!) but nothing remotely resembling a leaf in my kitchen, I opted for a cat-and-mouse theme. You can ice these cookies, dust them with a little confectioner’s sugar or eat them as is.

Cat and mouse maple sugar cookies
CANADIAN MAPLE SUGAR COOKIES
Makes about 4 dozen cookies
for the dough:
2 cups all-purpose flour, plus more for dusting
1 teaspoon baking powder
1/8 teaspoon salt
1 cup unsalted butter, at room temperature
3/4 cup maple sugar (see this post for information)
3/4 cup firmly packed light brown sugar
1 large egg
1 1/2 tablespoons pure maple syrup
1 teaspoon vanilla extract
for the icing:
1 cup confectioner’s sugar
1/4 cup maple syrup
2 tablespoons milk
Sugar sprinkles, optional, for decoration
Line two baking sheets with parchment paper and set aside.
Sift the flour, baking powder and salt into a large bowl. Set aside.
Using an electric hand or stand mixer, beat the butter until soft, about 1 minute. Add the sugars and beat together until creamy, 1 to 2 minutes. Scrape down the sides of the bowl, add the egg, maple syrup and vanilla and beat until well combined. Scrape down the bowl again.
Add half the flour to the wet ingredients and stir or gently beat together. Mix in the remaining flour until combined. Form the dough into two balls — they will be sticky to the touch — and place each on a large piece of cling wrap. Pat them down until you have thin disks. Cover the disks with plastic wrap and refrigerate for 20 minutes minimum. (Cold dough is easier to roll out and won’t stick to your rolling pin or cookie cutters.)
Preheat the oven to 350 degrees Fahrenheit. Lightly flour a clean work surface.
Remove one chilled disk from the refrigerator, unwrap it and place it on the lightly floured work surface. After dusting a rolling pin with flour, roll out the dough until it’s about 1/4-inch thick. Using a cookie cutter, cut out and place the cookies on the parchment-lined baking sheets. Form the remaining dough scraps into a ball, cover the ball with the plastic wrap and refrigerate it.
Bake the cookies for 8 to 10 minutes, until the edges are golden in color. Allow the cookies to cool on the baking sheets for 1 to 2 minutes before removing them from the sheets and placing them on wire cooling racks.
As the cookies are either baking or cooling, remove the already chilled dough disk from the refrigerator and repeat the above steps, rolling out, cutting and baking the dough and forming the scraps into a ball and refrigerating them. Repeat until all of the dough has been used.
Once the cookies have cooled, you can ice the cookies. To make the icing, sift the confectioner’s sugar into a bowl. Add the maple syrup and milk and stir until all of the lumps have dissolved. Using a butter knife or small icing spatula, spread the icing over the cookies. Sprinkle the tops with optional pearl or other decorative sugar. Allow the icing harden before serving or storing.

1 Comment