Ask me to make a pot of succulent coq au vin, a platter of spanikopita based upon that fragile phyllo dough or eggs Benedict with a picture-perfect Hollandaise sauce and I’ll rise to the occasion every single time. Give me a “simple” culinary task, such as using a 3-dimensional cake mold to make a cutesy Christmas bear, and I flounder over and over again.
Case in point: The Williams-Sonoma Build-A-Bear cake pan.
Sean bought this adorable, Nordicware pan and the accompanying fondant Santa bear outfit at Williams-Sonoma as an early holiday gift for me. The plan? That I master making this cake before our annual Christmas Eve party.

We both envisioned our friends and family crowding around the dessert table on December 24th, all smiles as they ooo-ed and ah-ed over the cake. “Ah, look at the cute, little Santa bear. Isn’t he just the sweetest thing?”
They’ll definitely say something about that cake but more likely it will be, “What on earth is that freak of nature supposed to be?! Someone please take a knife to it and put it out of its misery!”
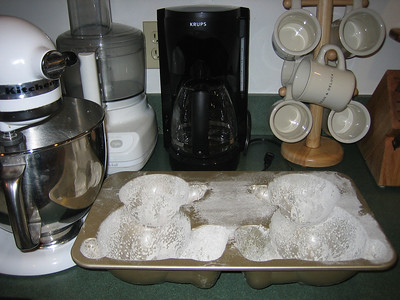
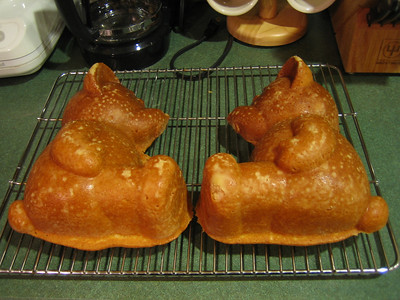
The first failure was completely my fault. Unwilling to invest the money ($18) for the Williams-Sonoma Bundt cake mix or the time to make my own batter, I skimped and bought 2 boxes of Devil’s Fudge mix for $1 apiece at the grocery store. Bad idea. Because I had over 2 pounds of cake mix for roughly a 1 1/2 pound cake mold, I ended up with extra batter in the mold, in the bowls and on my fingers and face (can’t let all that good batter go to waste). Ultimately, two massive brown bears commandeered my oven, littering the wire oven racks and floor with globs of bear waste.
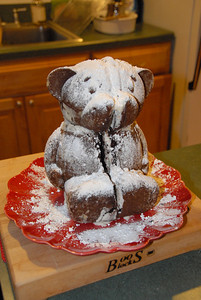
Huge bears meant a huge amount of trimming. I suspect that’s when the next problem arose because, although I followed the directions for gluing the two halves together with buttercream icing, my two halves never quite melded. Instead of a seamless bear, well, I’ll just share this picture for, in this case, it really is worth a thousand words.

As if a giant gorge in the center of the bear wasn’t bad enough, I also faced decapitation. Yes, one half of the head fell off as I removed it from the baking pan. The other half then cracked at the neck. Thanks to extra buttercream frosting, Chef Frankenstein re-attached the head, mended the cracks and concealed the flaws with a very liberal dusting of powdered sugar. Problems solved, I had hoped.
Things went progressively downhill from there, culminating in the bear separating, falling onto my kitchen counter and then breaking in two, the torso staying plastered to the green countertop while the head flopped onto the antique white tile floor. Talk about a baking disaster. At least the frosting-covered tile made my fat cat Owen’s night.
Before starting the next cake, I looked online for customer feedback. Maybe I wasn’t the only one struggling with the Santa bear. ‘Fraid so. Everyone else loved it.
Feeling that I was missing something, perhaps many things, I decided to watch the 4-minute, instructional, Build-A-Bear cake workshop, online video. What did I learn? Most importantly, make a dense — not featherweight, el cheapo — cake batter that will support itself when placed upright. Don’t knock off the head or tail. Use parchment paper and not my bare hands to move the halves, which helps with all important rule #2 , don’t knock off . . ..

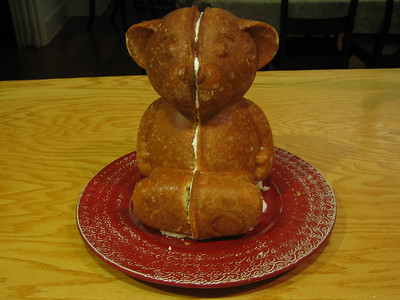
The second bear faired better, although Owen stayed close by, just in case another catastrophe sent more icing his way. This time, following the recipe listed on the back of the cake pan’s box, I made a denser batter from scratch. When removing the bear halves from the pan, I managed to keep both intact. As for using parchment paper, I skipped that step but still didn’t knock off the head or tail. I continued to have a problem with that unsightly gap where the two halves joined together but, sadly for Owen, the cake remained in one piece.
I’m hopeful that the Build-A-Bear decorating kit, with its red, fondant Santa suit and hat, will make my creation more attractive. My garish shower of powdered sugar certainly did nothing to help matters.